User Management
User Management component provides fintechs with an interface which will allow back office / management console admins to better manage their accesses and permissions of various other users of their respective orgnaization / fintech users with respect to all the applications present in Fusion management console along with Management console itself.
Features
Using User management component, you can perform the following actions.
- Onboard / Add new users
- Add photograph of new users for visual identificaton.
- Specify Authentication identities of new users (Assign mobile number / email to the newly added users).
- Add additional identity to existing users
- Grant access to new users
- Grant additonal access to existing users
- Revoke access of the users
- View the list of existing users
- Search for existing users
Getting Started
Fusion User Management requires user authentication to access the interface. Fusion team will provide the access to your team to start using the User Management.
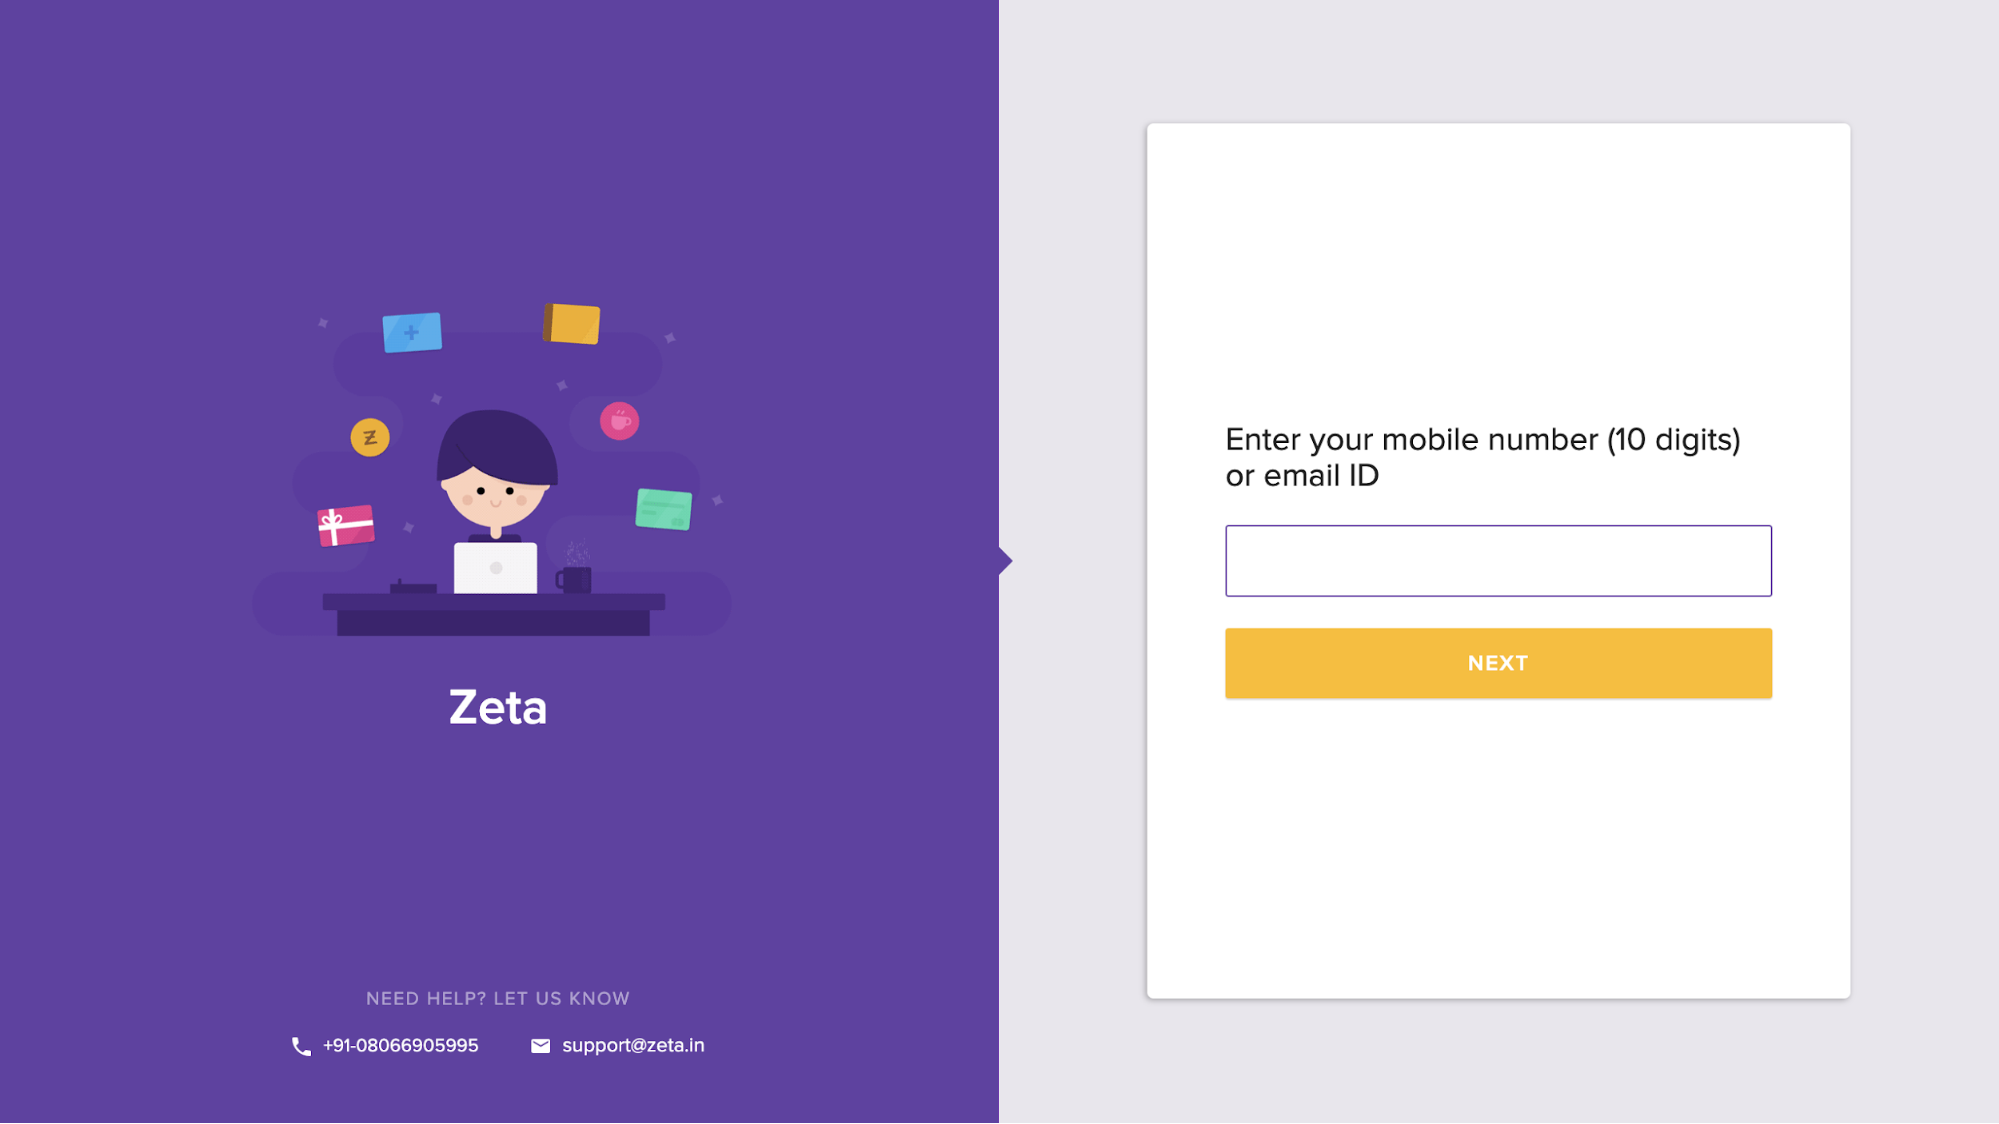
Logging In
For logging in, you’ll have to go through the following steps:
- Go to Fusion Management Console login page
- Enter your 10 digit phone number or email ID.
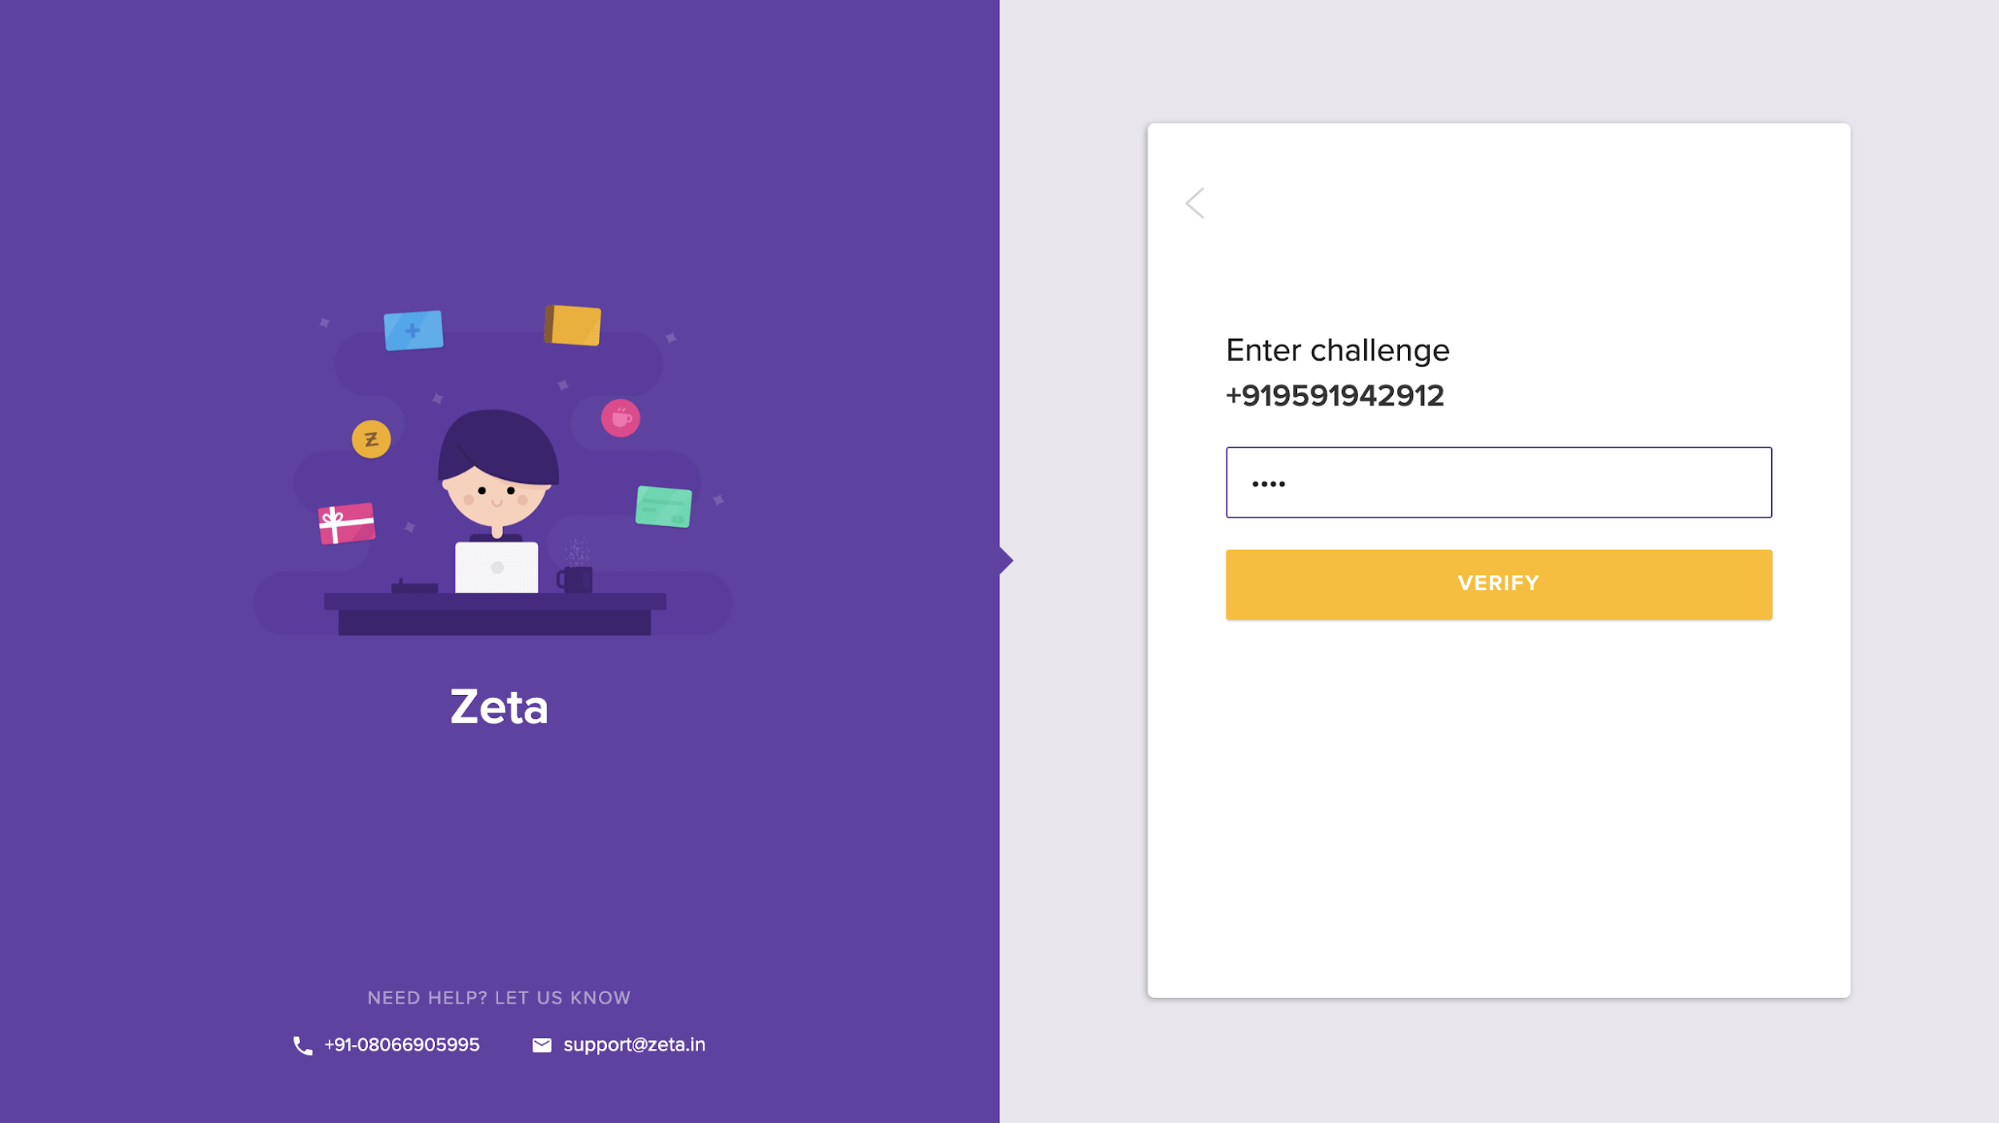
- Verify using an OTP sent to the registered phone number or email ID.
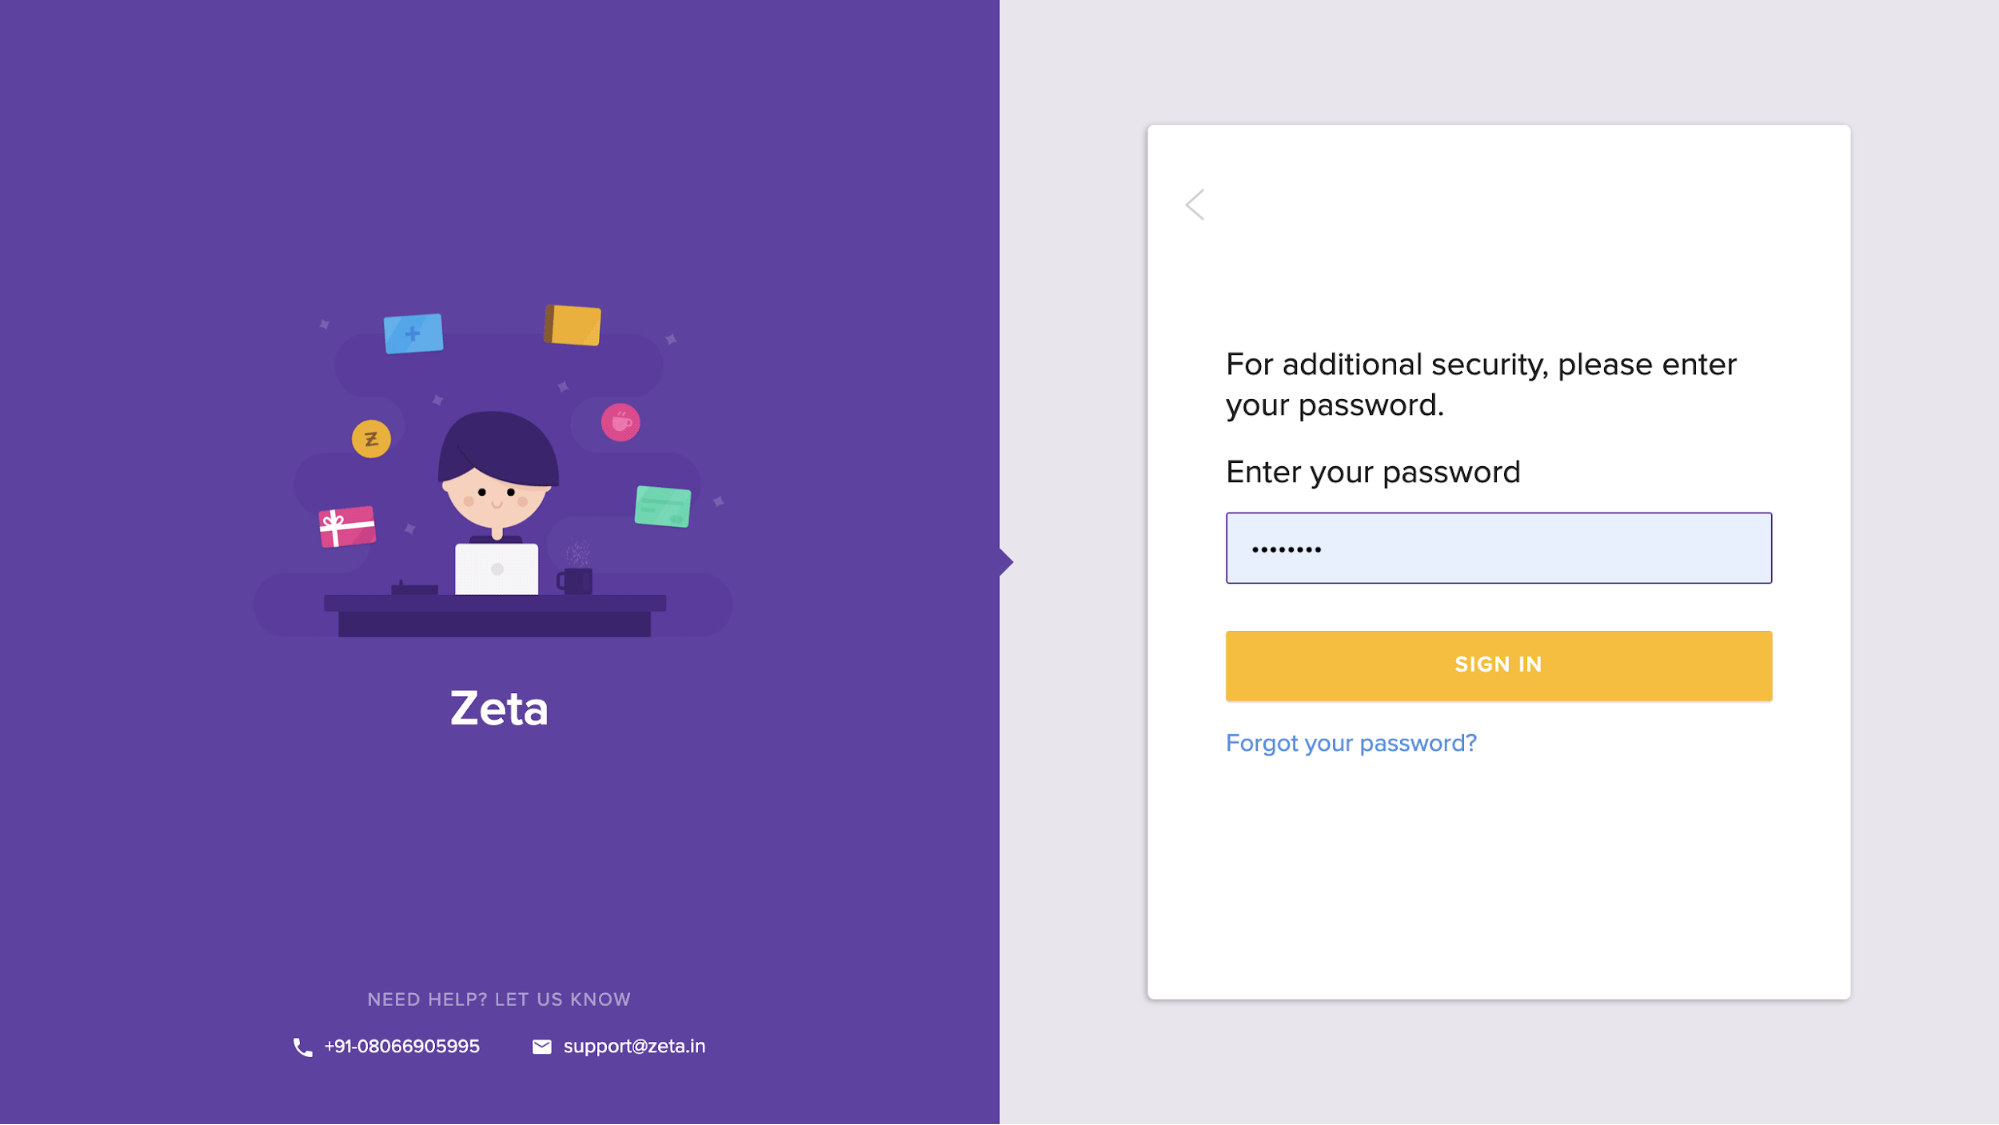
- Enter your password that was set at the time of first time login.
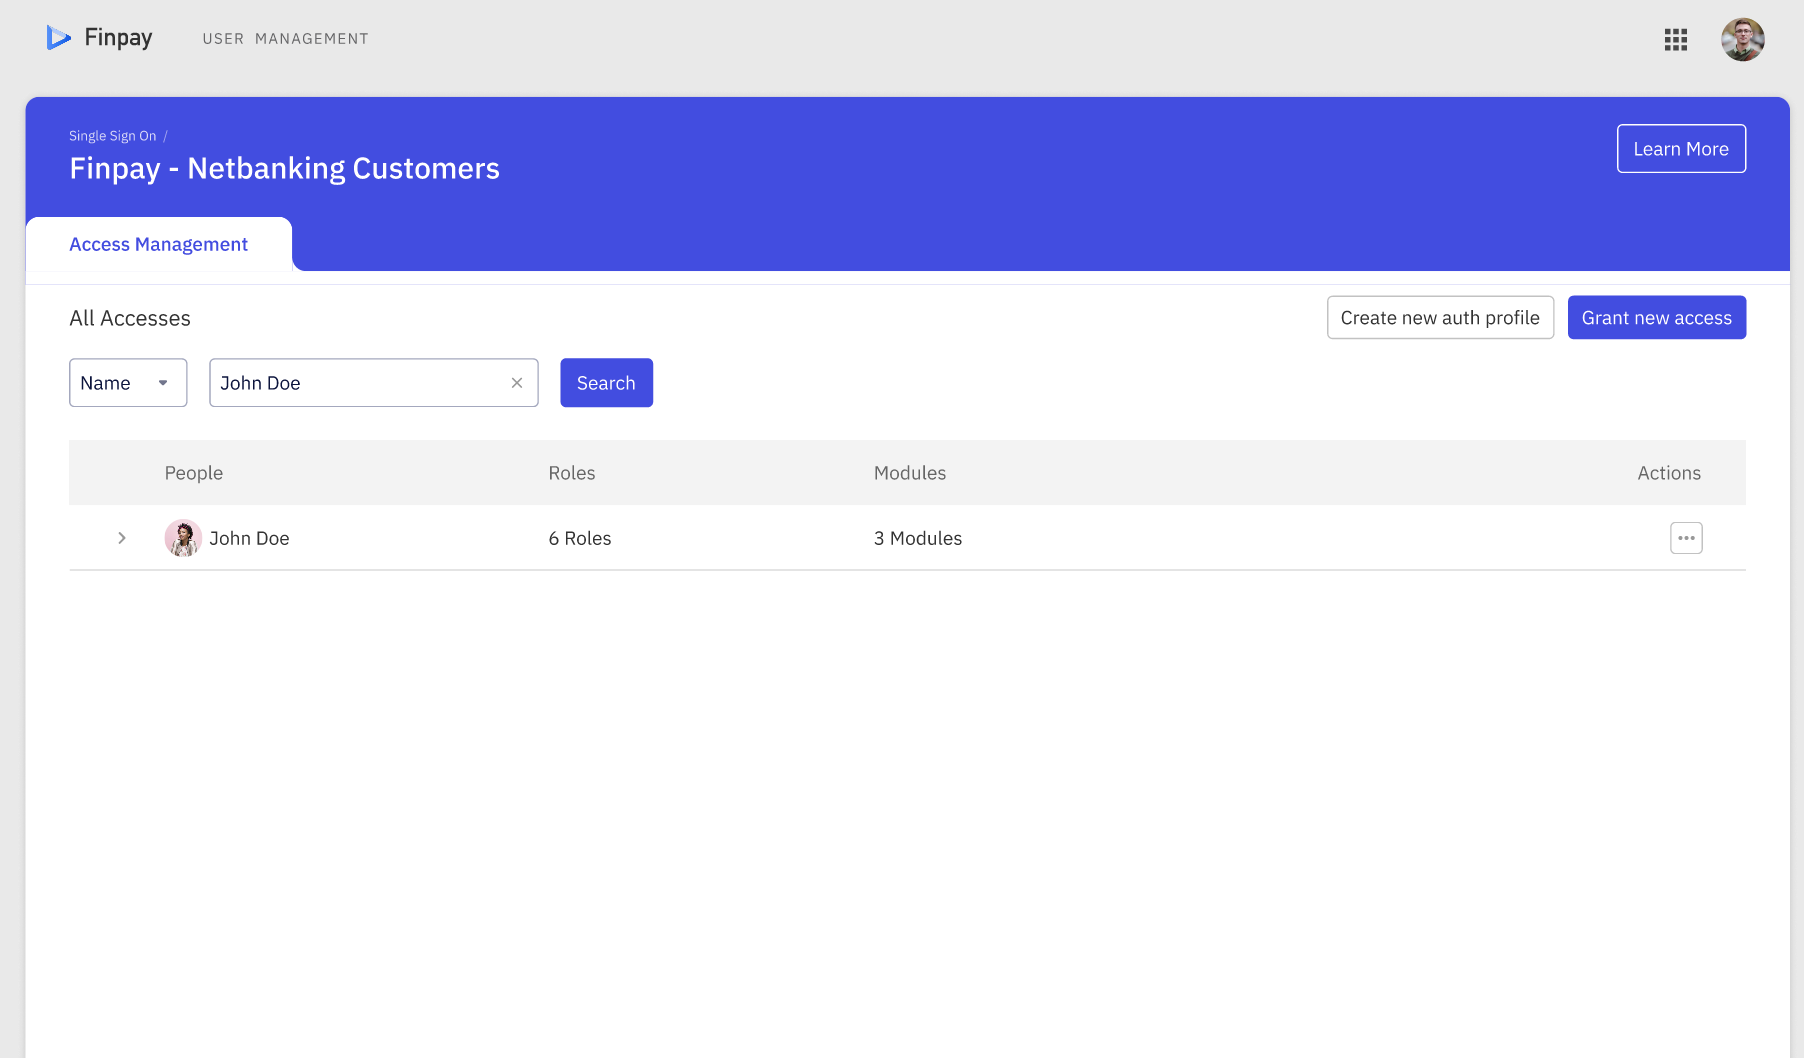
Landing Page
Once you login, you will see an icon for User Management on FMC landing page.
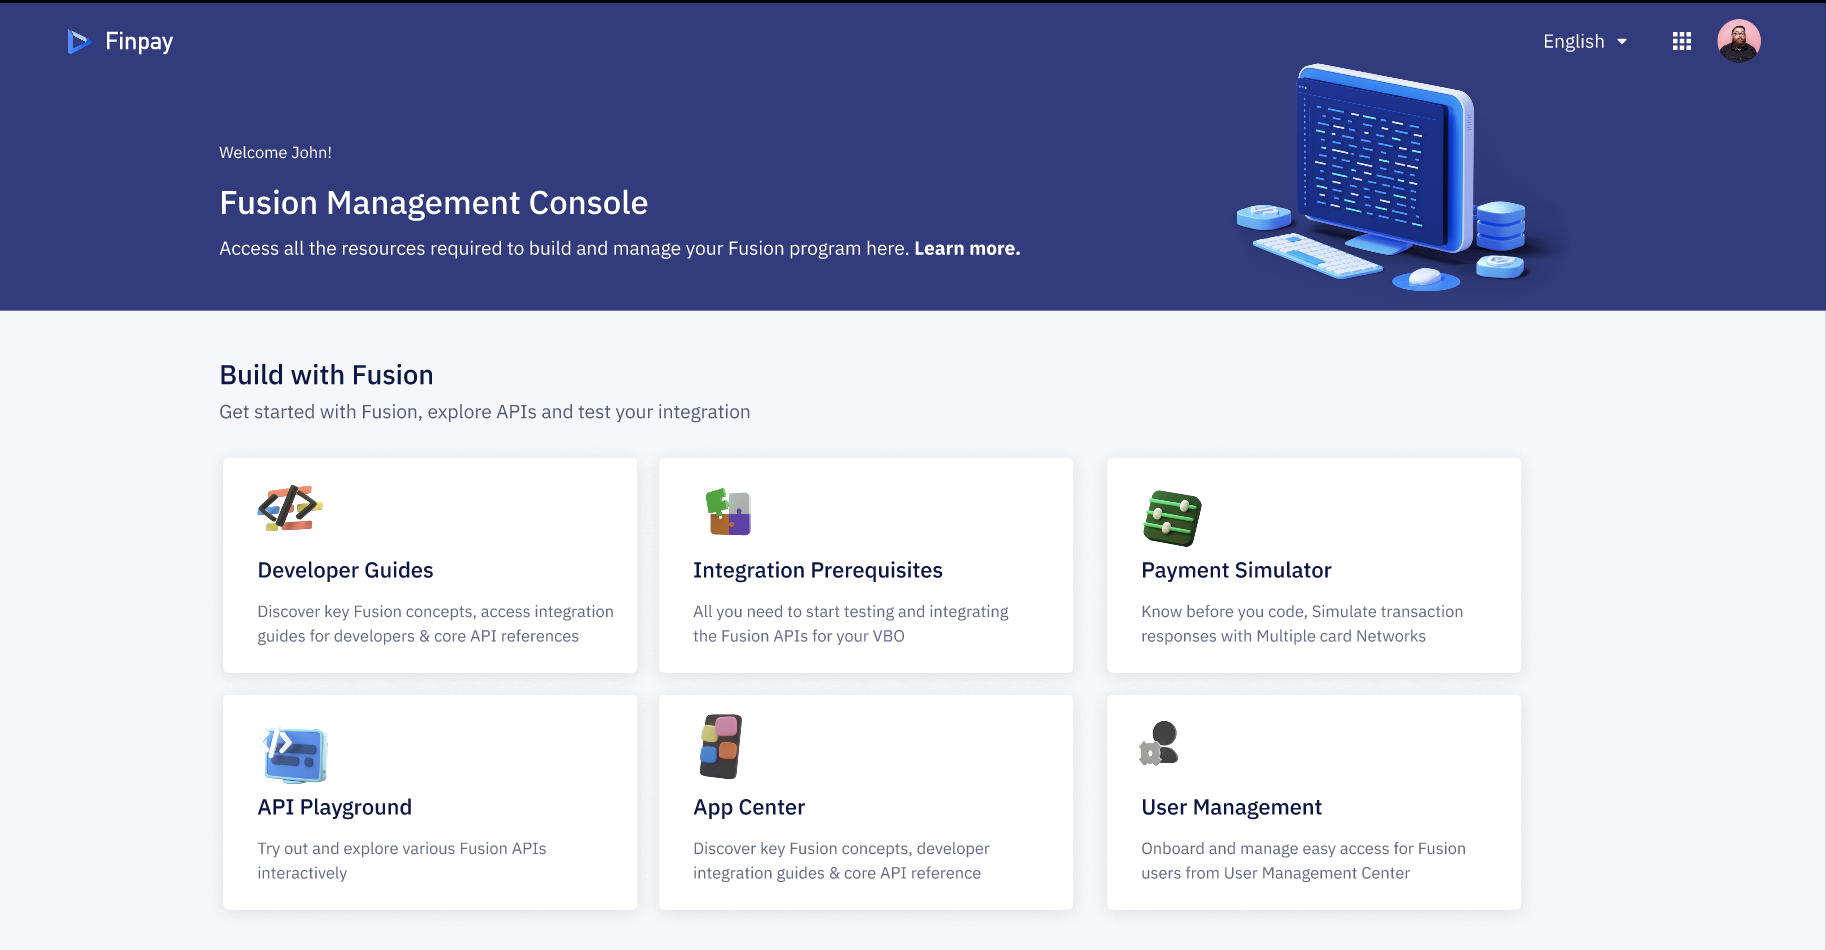
You can click on the User management icon and you will be redirected to User Management interface without further login.
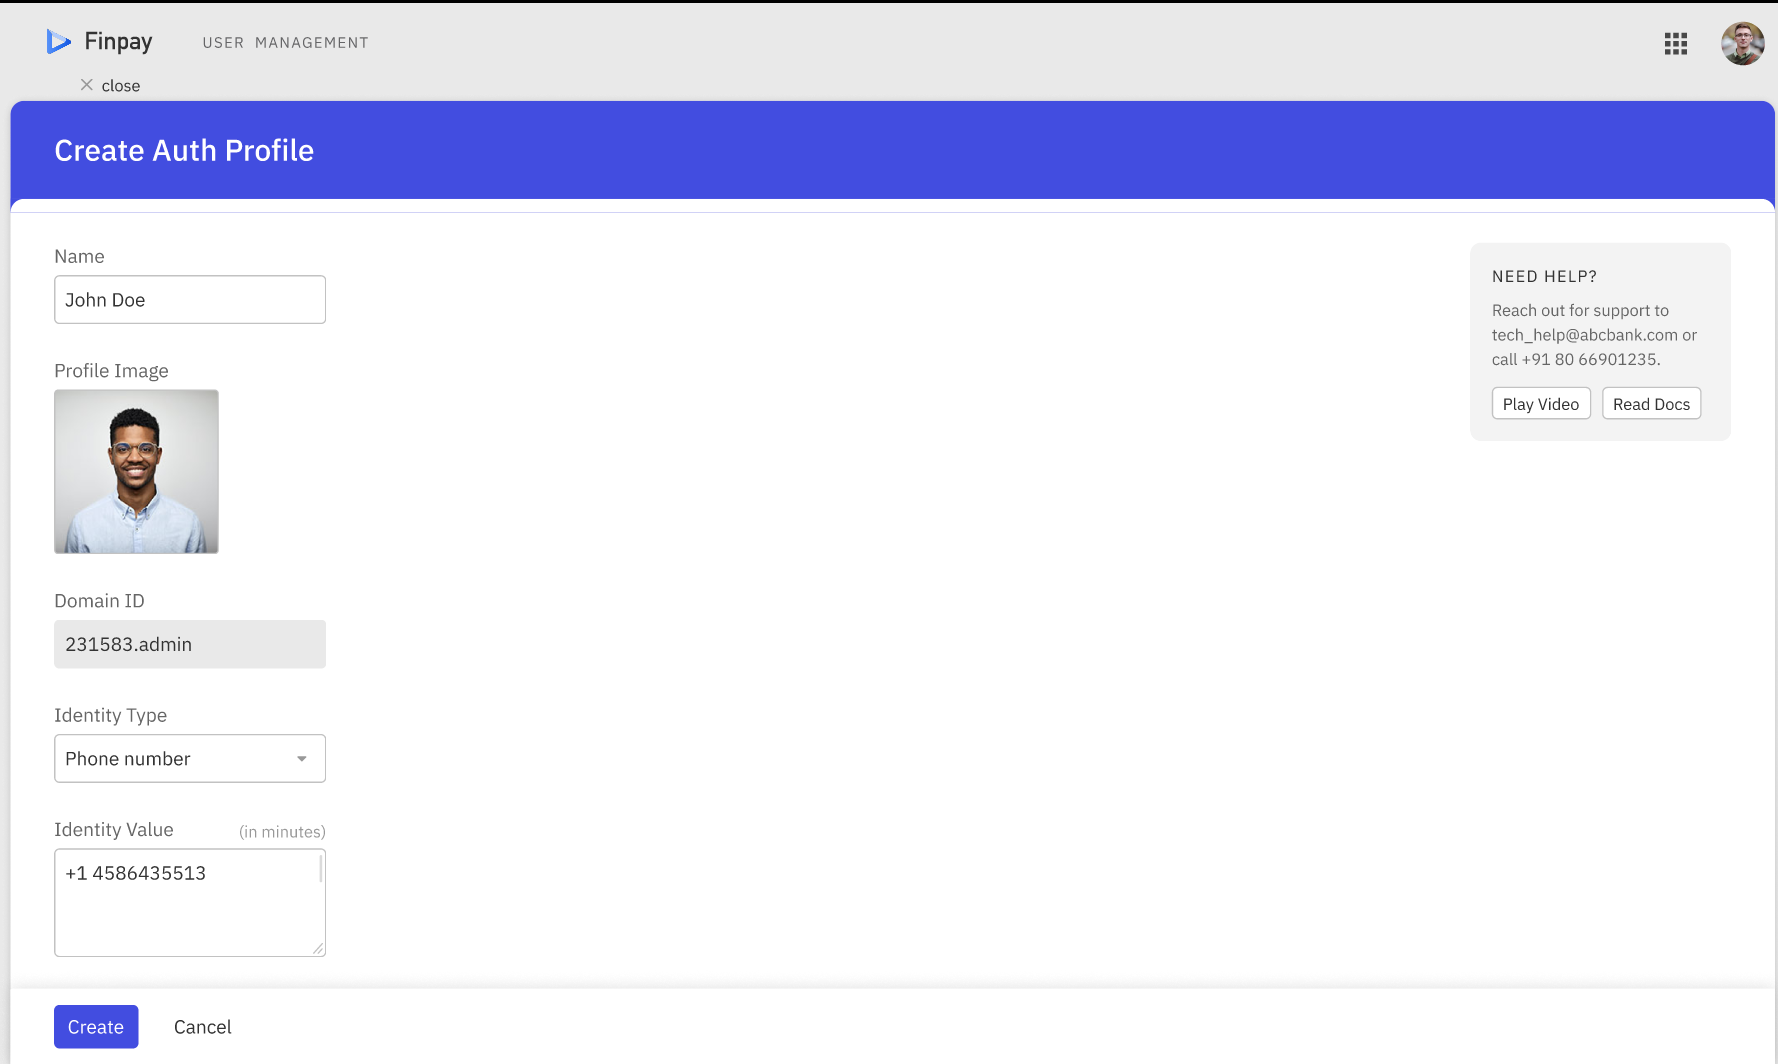
Adding New users
In order to Add new users to your Fusion Management Console, you can follow the below steps
- Click on Create new auth profile
- Enter the name of the new user
- Add profile image for the new user for visual identification. (This step is optional)
- Domain id - This will be prefilled for your fintech.
- Select the identity type from the drop down , you can select phone number or email id .
- you can enter the identity value, if you have selected phone number; please enter the phone number of the user, if you have selected email id; please enter the email id of the user.
Adding Photo for Visual Identification
In order to Add Photo to the new users for visual identification you can follow the below steps
- Click on Create new auth profile
- Enter the name of the new user
- Add profile image for the new user for visual identification.
Authentication Identities for New users
In order to Add authentication identities to new users you can follow the below steps
- Click on Create new auth profile
- Enter the name of the new user
- Add profile image for the new user for visual identification. (This step is optional)
- Domain id - This will be prefilled for your fintech.
- Select the identity type from the drop down , you can select phone number or email id .
- you can enter the identity value, if you have selected phone number; please enter the phone number of the user, if you have selected email id; please enter the email id of the user.
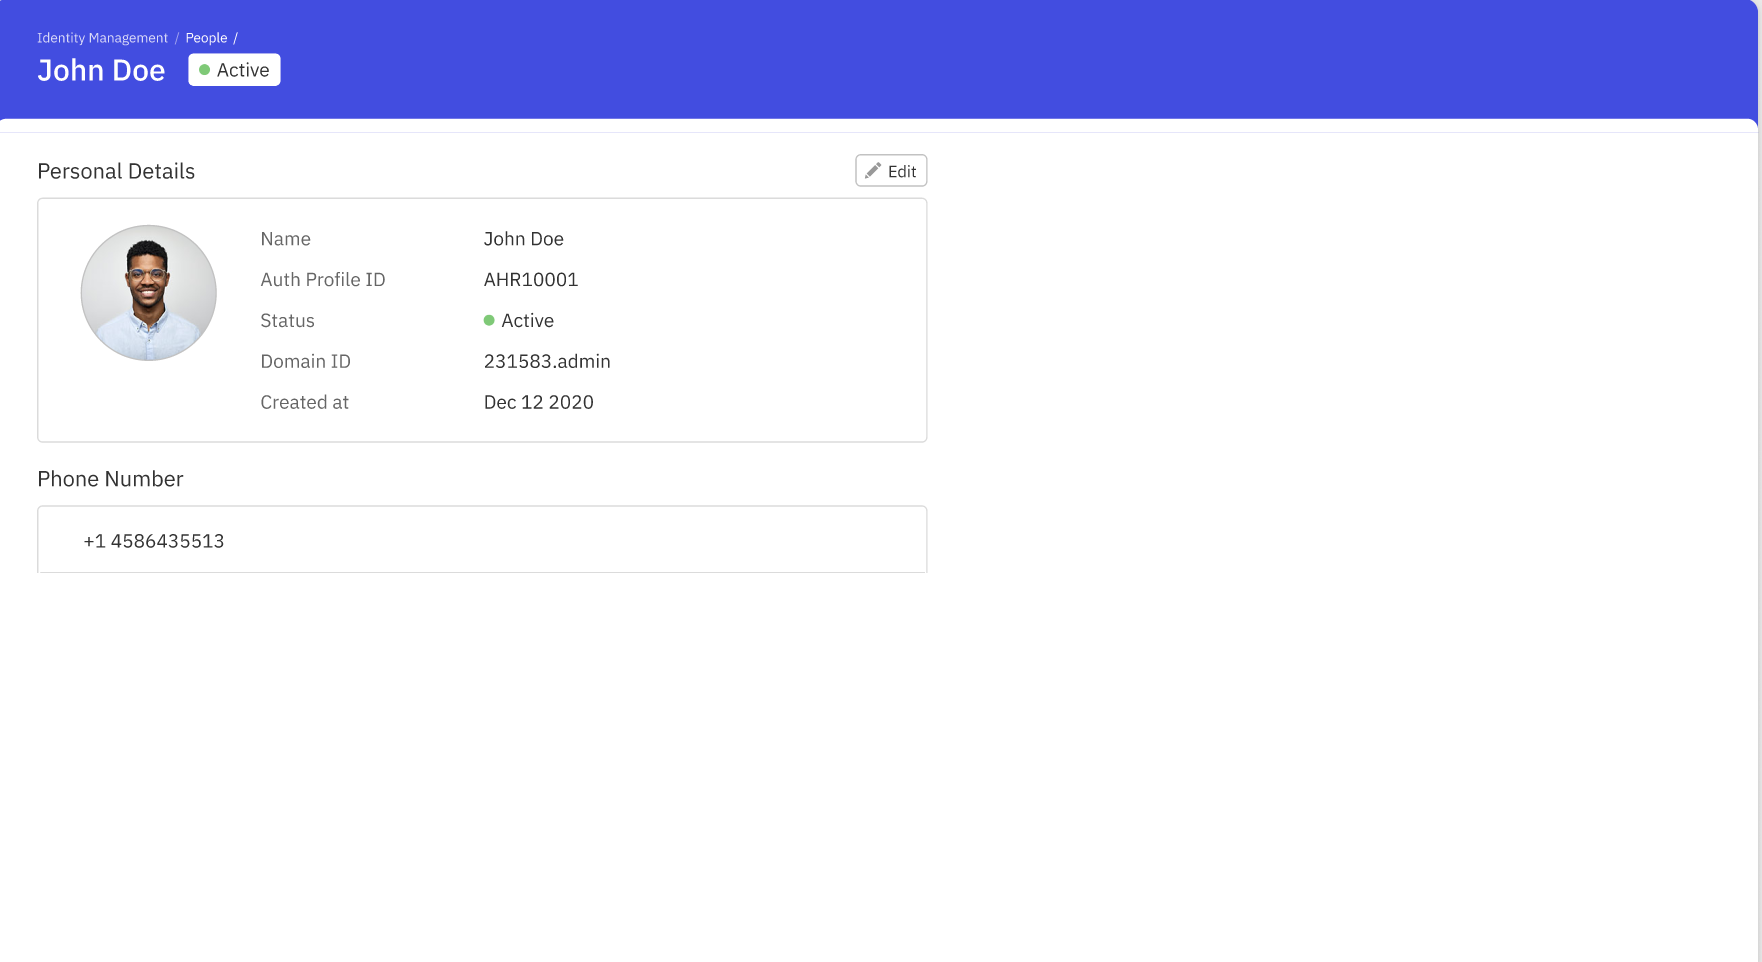
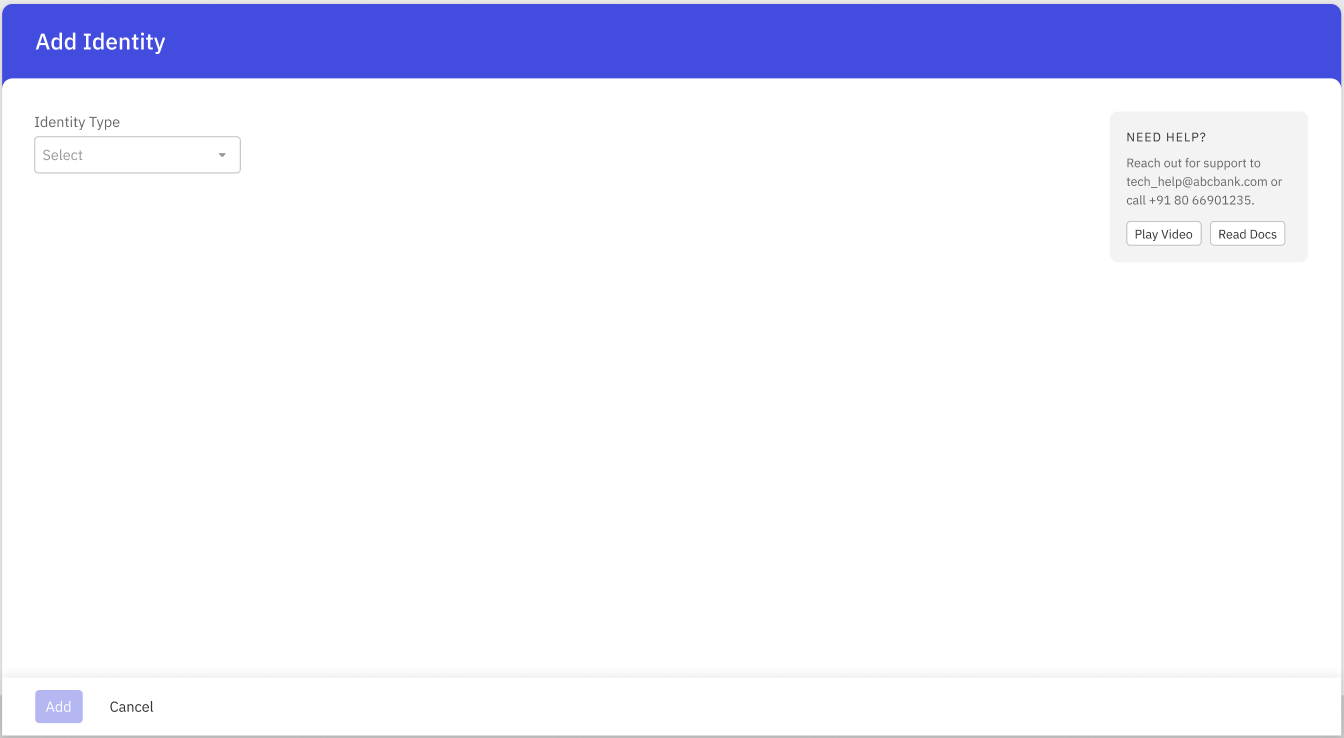
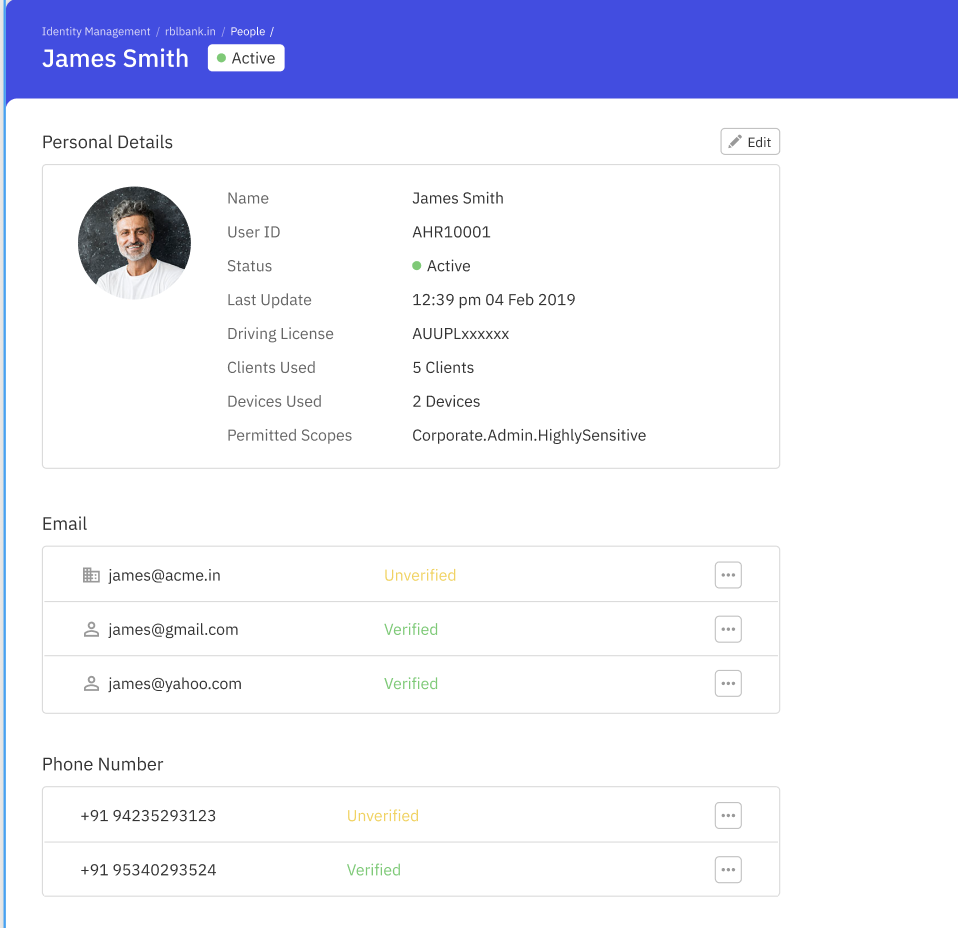
Add additional identity for existing users
In order to add additional identities to existing users you can follow the below steps
- Go to User management landing page
- You can see the list of users present over there
- You can search for a particular user using mobile number or email id or name.
- once you have identified your user, you can select the 3 dots icon in the right and click on “Add identity” action.
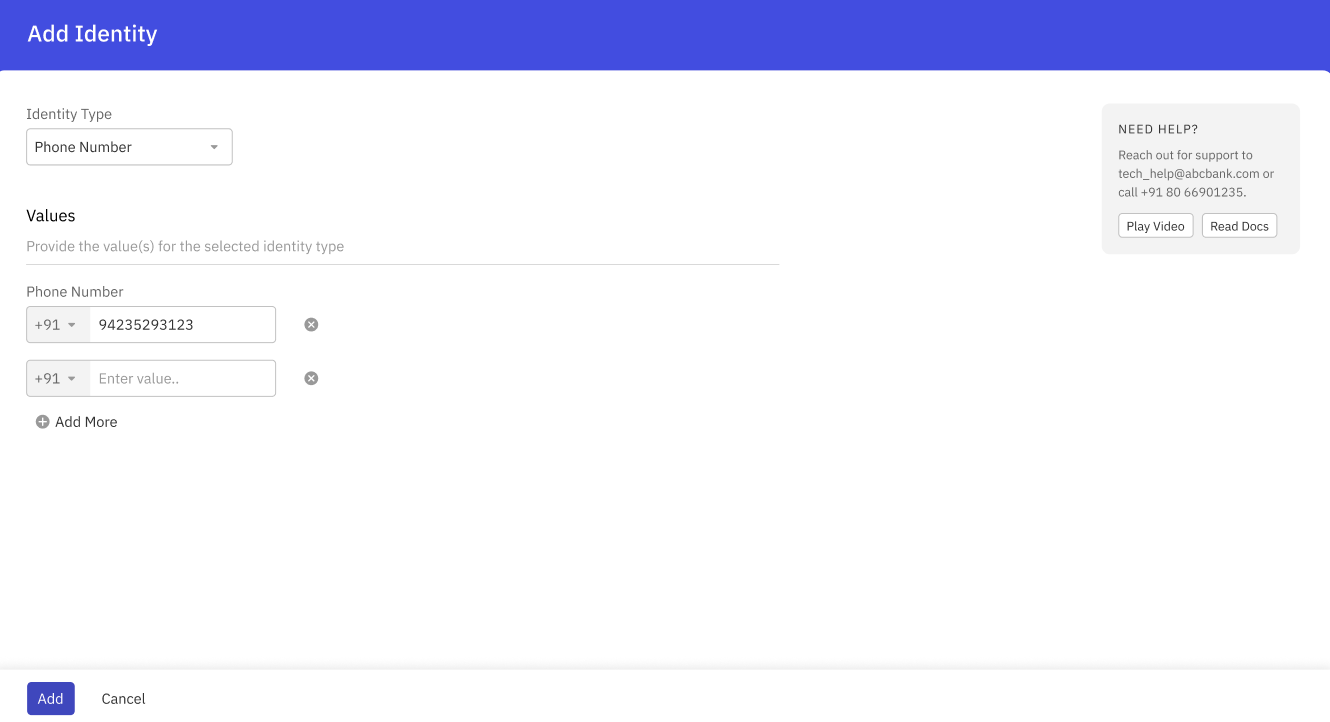
- Choose the identity you would like to add, availalbe options are email and phone number.
- Based on the identity type you are selecting , add one or more identity values, if you have selected email id add one or more email id’s associated with the user, if you have selected phone number add one or more phone numbers associated with the user.
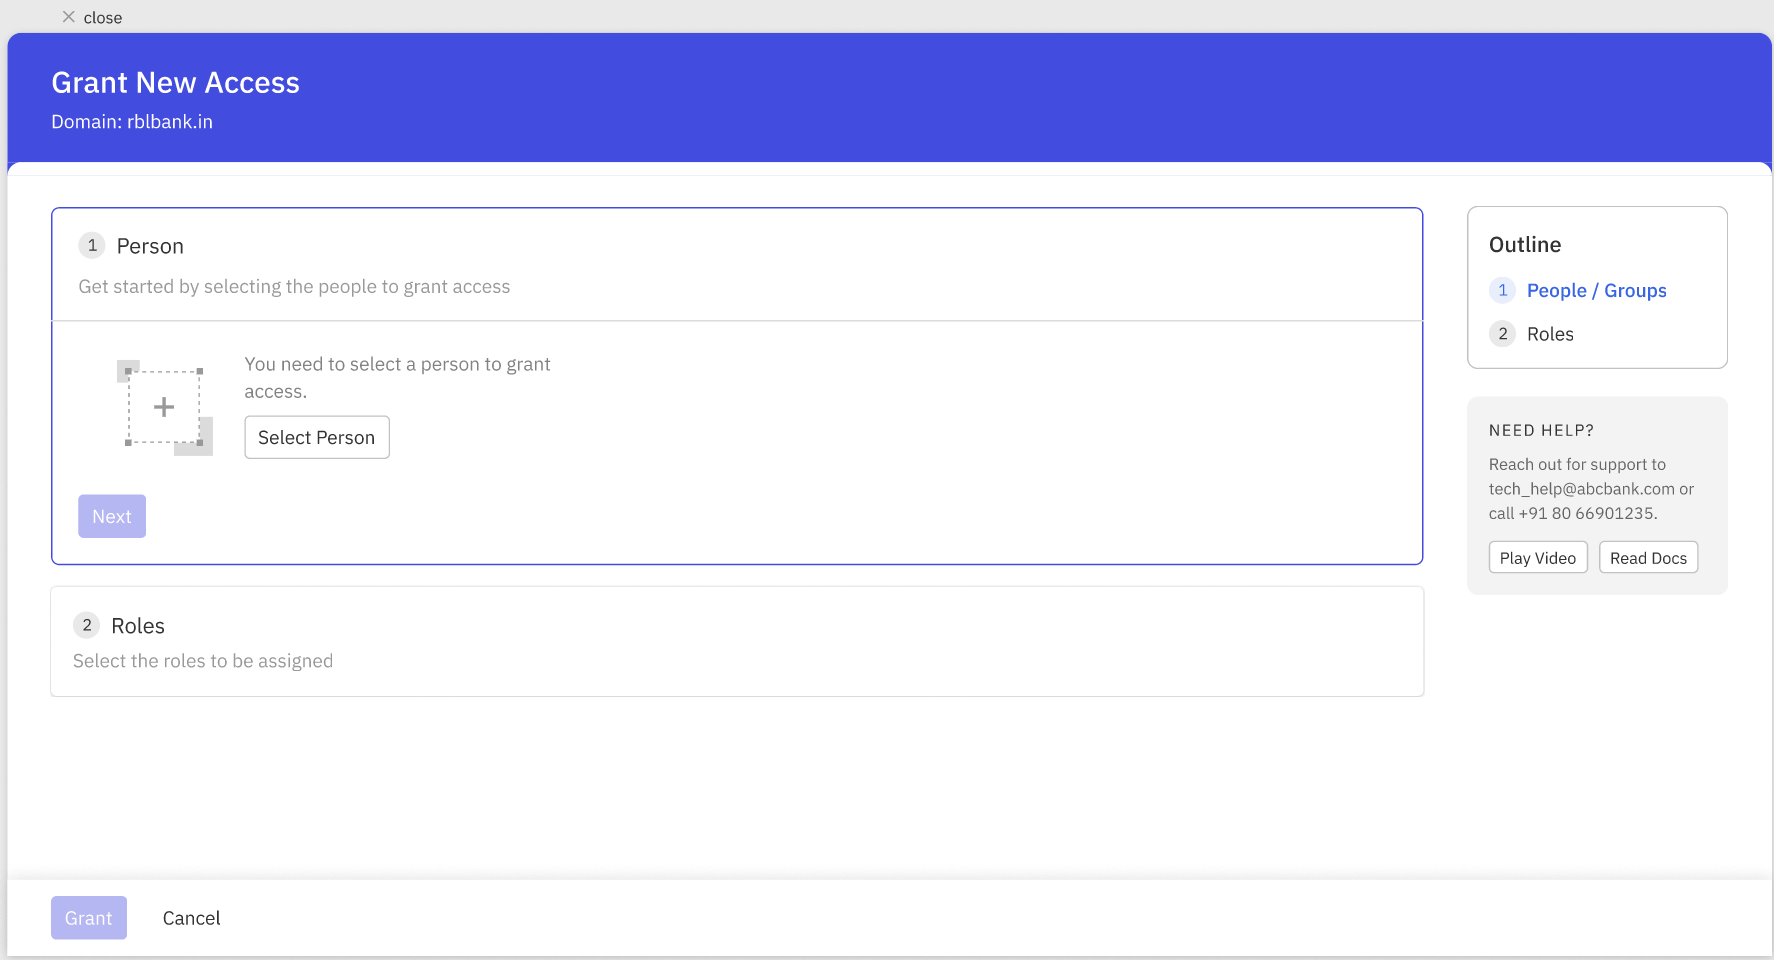
Grant new access
In order to grant new access to new users you can follow the below steps
- Click on Create new access
- click on select person
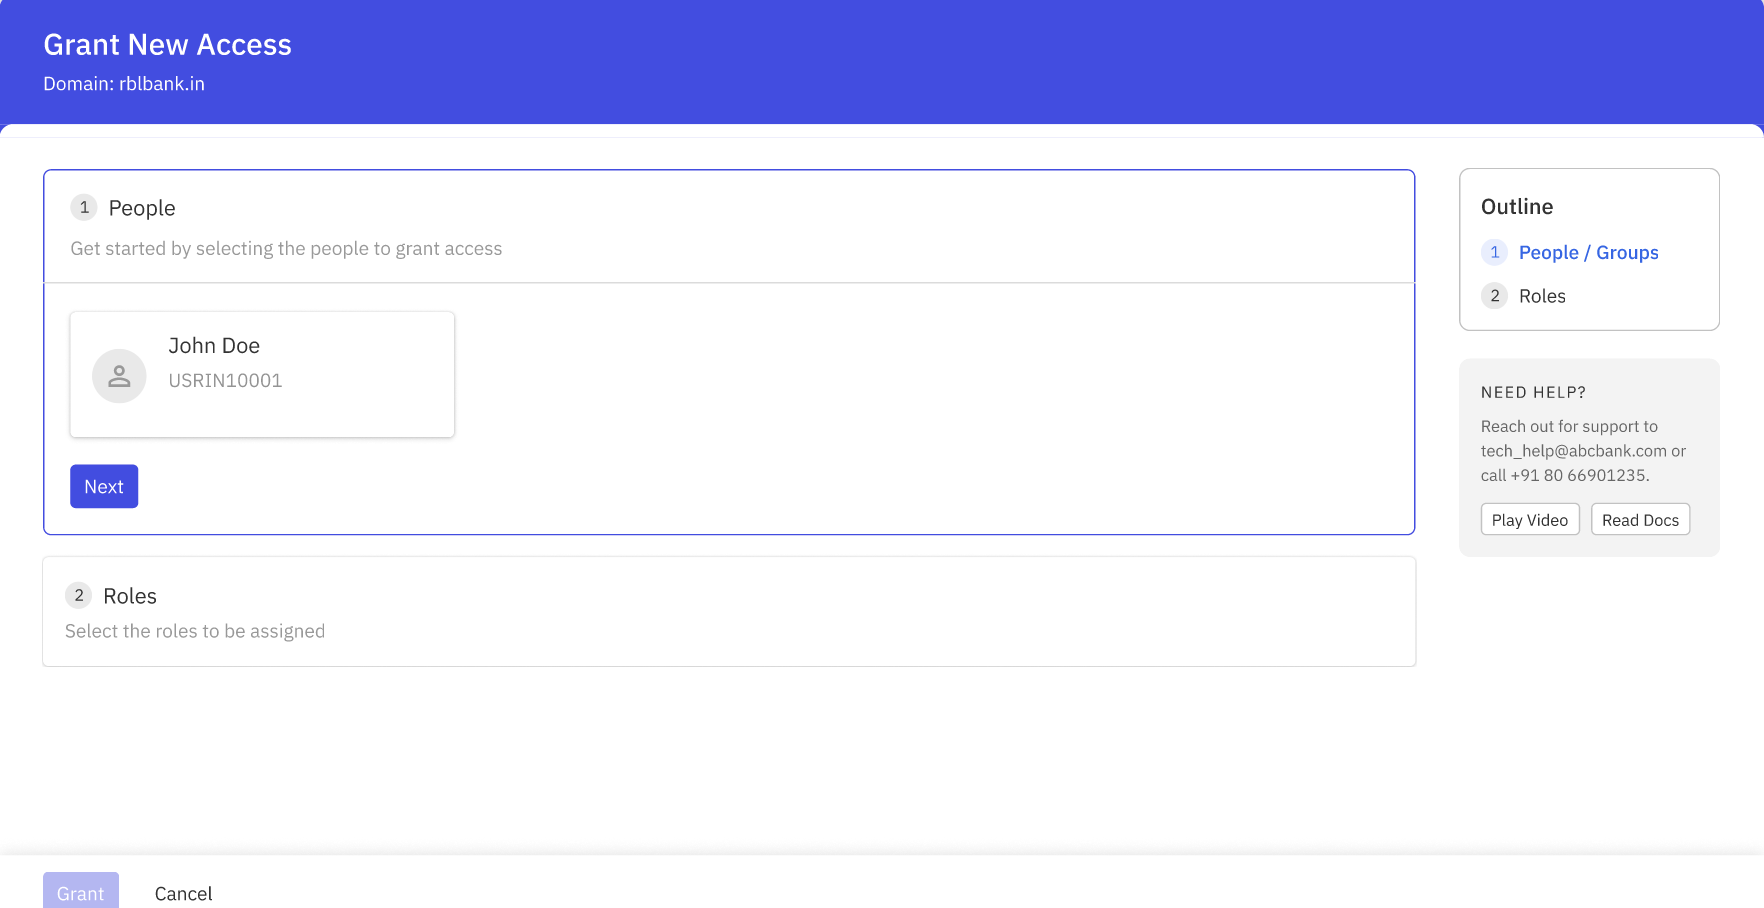
- select the person from the list of people available.
- once you have selected the person , click on continue and next
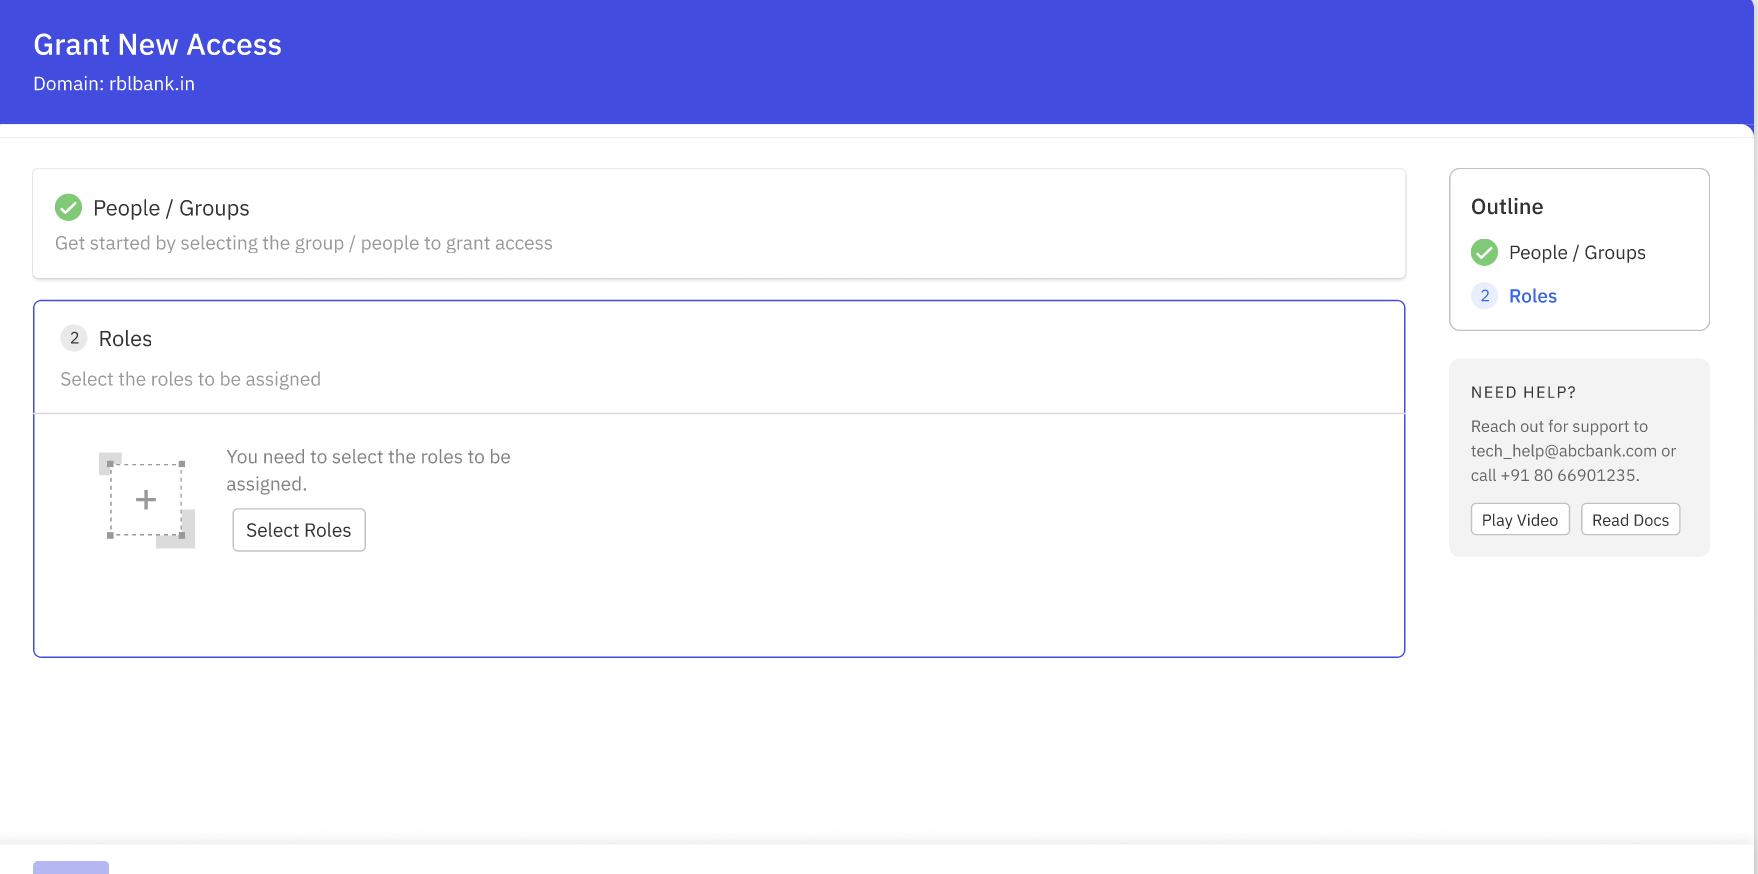
- you will be asked to select the Role / access you would like to provide to the person
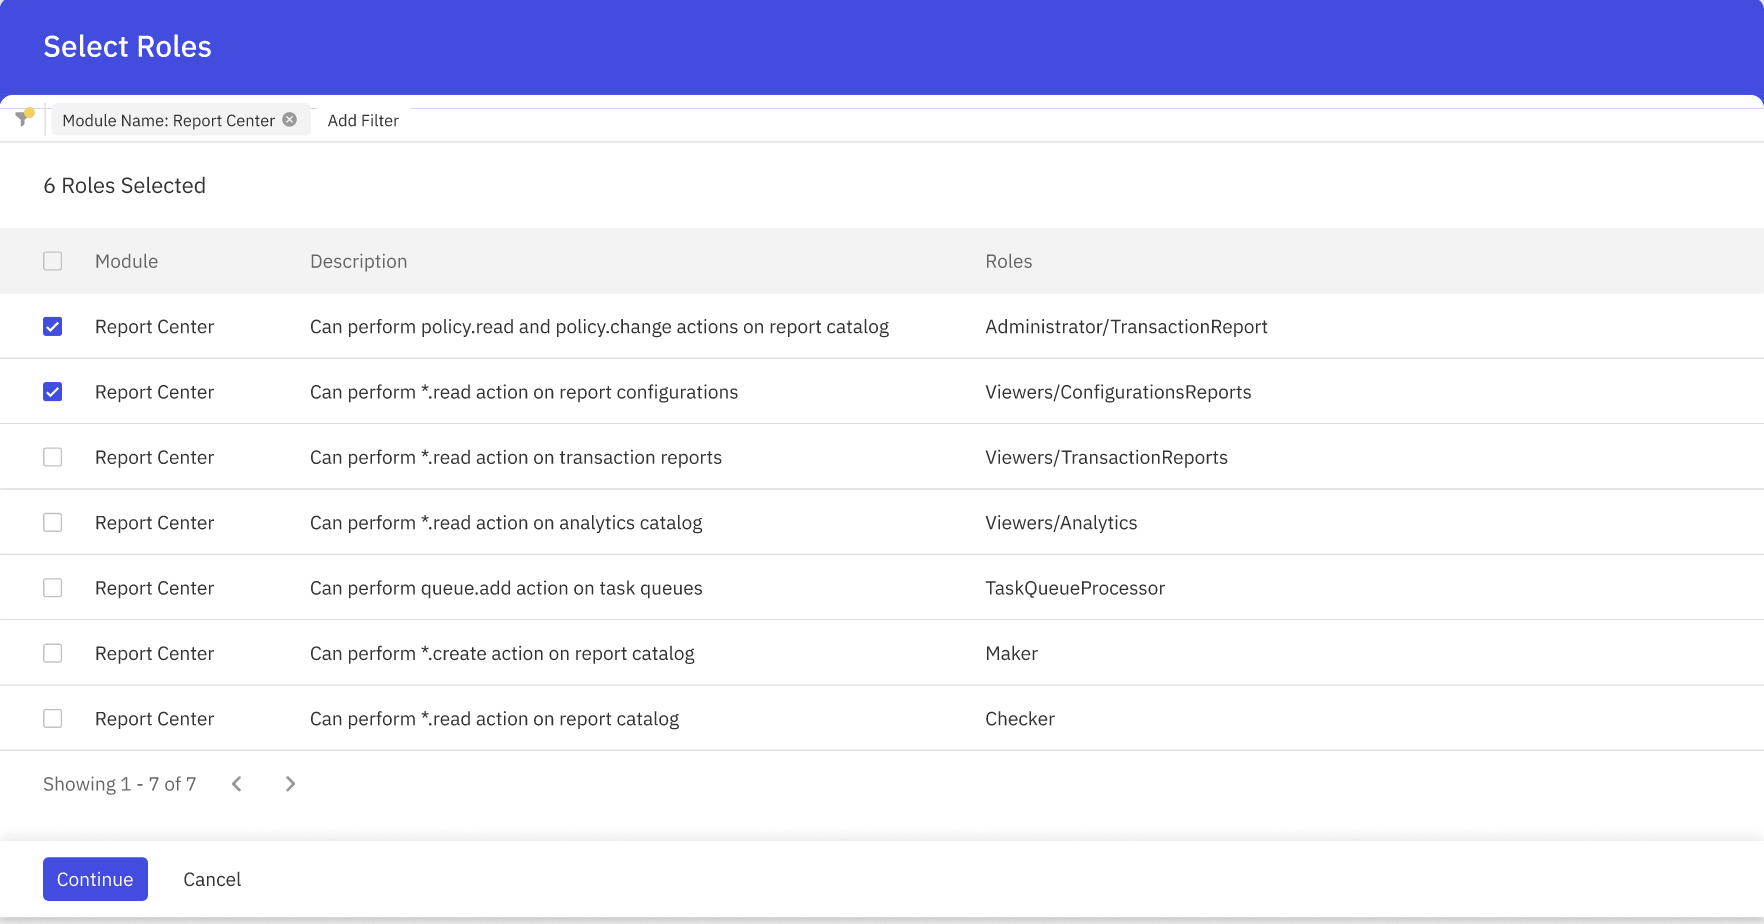
- you will see a list of modules available and the roles against each of the module.
- you can select one or more modules and/or roles and click on continue.
- you can review the list of roles you are going to assign to the user and click on Grant
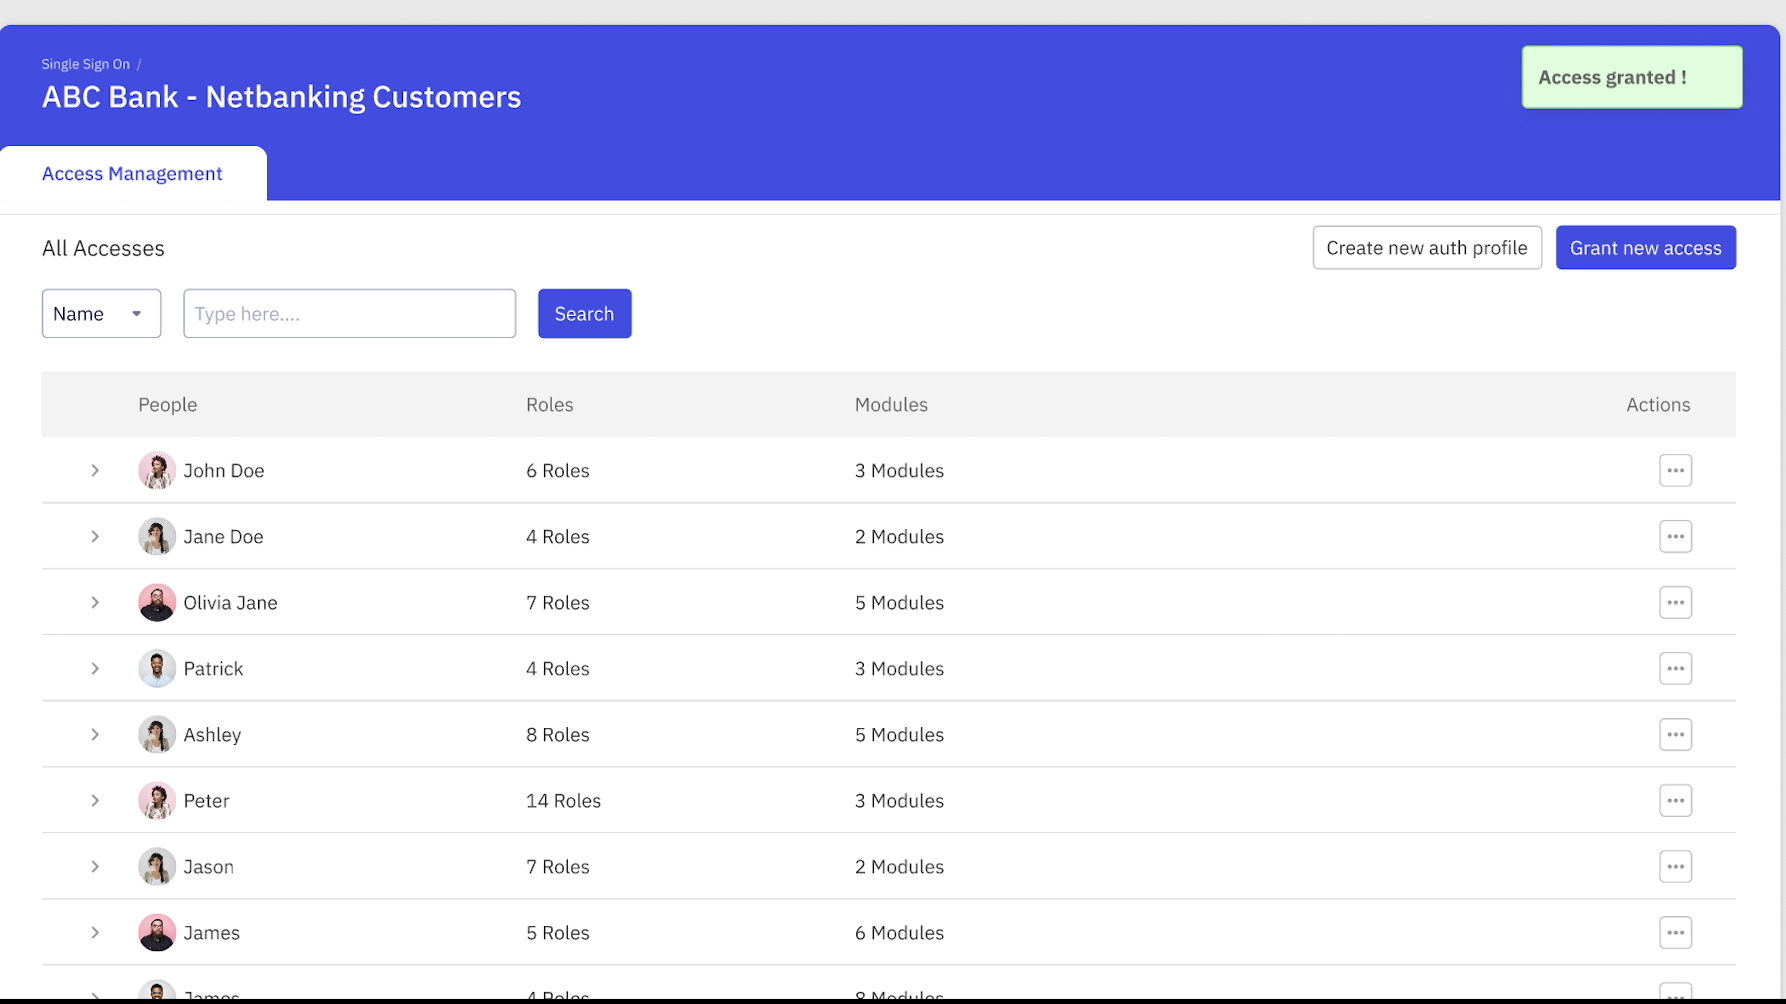
- Once the role has been successfully assigned to the user, you will see a toaster saying “Access has been granted”
- You can also look for the user in the list of people and see whether he/she has access to the new role.


Grant Additional access to existing user
In order to grant new access to new users you can follow the below steps
- Click on Create new access
- click on select person
- select the person from the list of people available.
- once you have selected the person , click on continue and next
- you will be asked to select the Role / access you would like to provide to the person
- you will see a list of modules available and the roles against each of the module.
- you can select one or more modules and/or roles and click on continue.
- you can review the list of roles you are going to assign to the user and click on Grant
- Once the role has been successfully assigned to the user, you will see a toaster saying “Access has been granted”
- You can also look for the user in the list of people and see whether he/she has access to the new role.
Revoke access of users
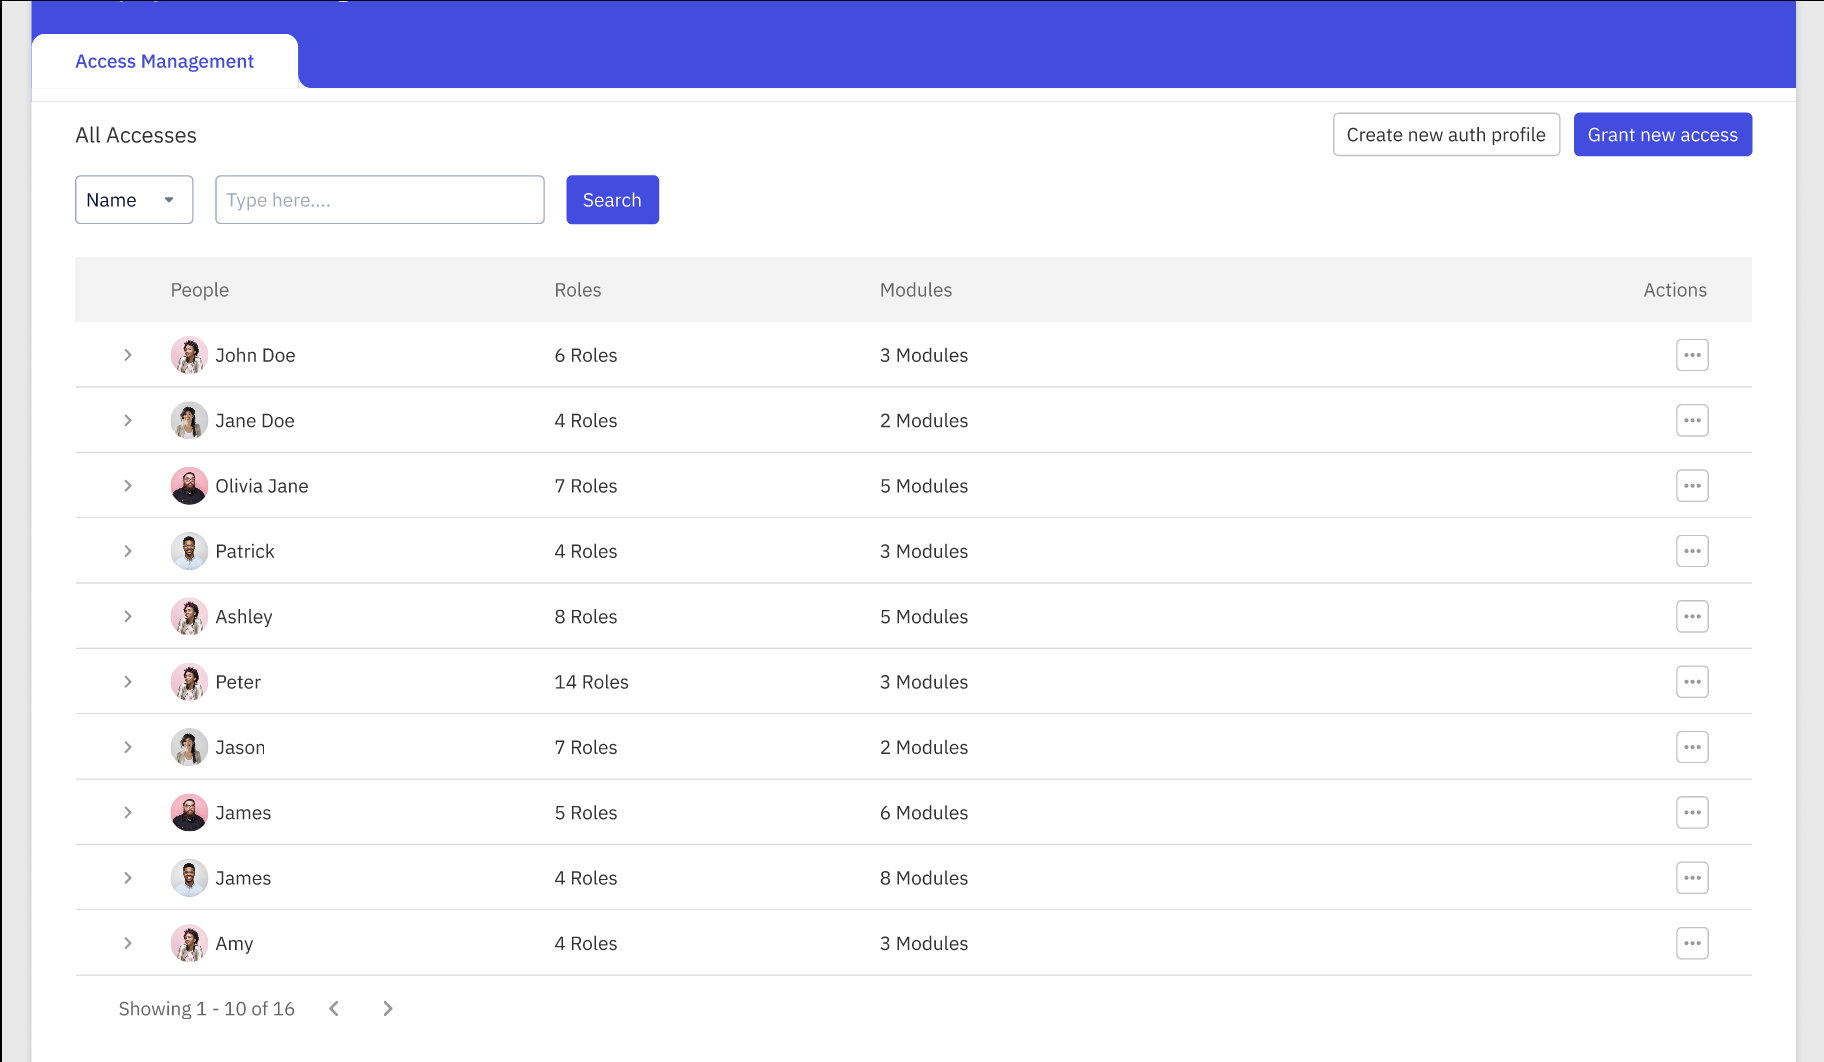
View the list of users
You can view the list of users on the user management landing page and you can also search for the users using mobile number or email id or name.
Search for the users
In order to search for a user, you can follow the below steps. You can search for a user using phone number or email id or name.
- Go the list of users available on the landing page
- Select the attribute with which you would like to do the search
- Possible options would be name, phone number and email id.
- Once you have selected the attribute, enter the value of the attribute.
- Enter the name of the user if you have selected name as the attribute.
- Enter the phone number of the user if you have selected phone number as the attribute.
- Enter the email id of the user if you have selected the email id as the attribute.