

Android SDK Setup
Before starting the set up, Please download the SDK via App center.
Add the Cards Sdk to your app
- To your module (app-level) Gradle file (usually app/build.gradle), add the dependency for the cards SDK

 Switch Theme
 Expand More
 Copy
Copy
|
|
 Code Copied
 - Add kotlin JVM target to your if you are using Kotlin as your programming language
Switch Theme
Expand More
Copy
|
|
Code Copied - Custom packaging options if you face issues with packaging:
Switch Theme
Expand More
Copy
|
|
Code Copied - Enable data-binding by adding the following lines to the app-level build.gradle
Switch Theme
Expand More
Copy
|
|
Code Copied - Add the following permissions to your AndroidManifest.xml file
Switch Theme
Expand More
Copy
|
|
Code Copied - Enable multi-dex by adding the following lines to the app-level build.gradle file
Switch Theme
Expand More
Copy
|
|
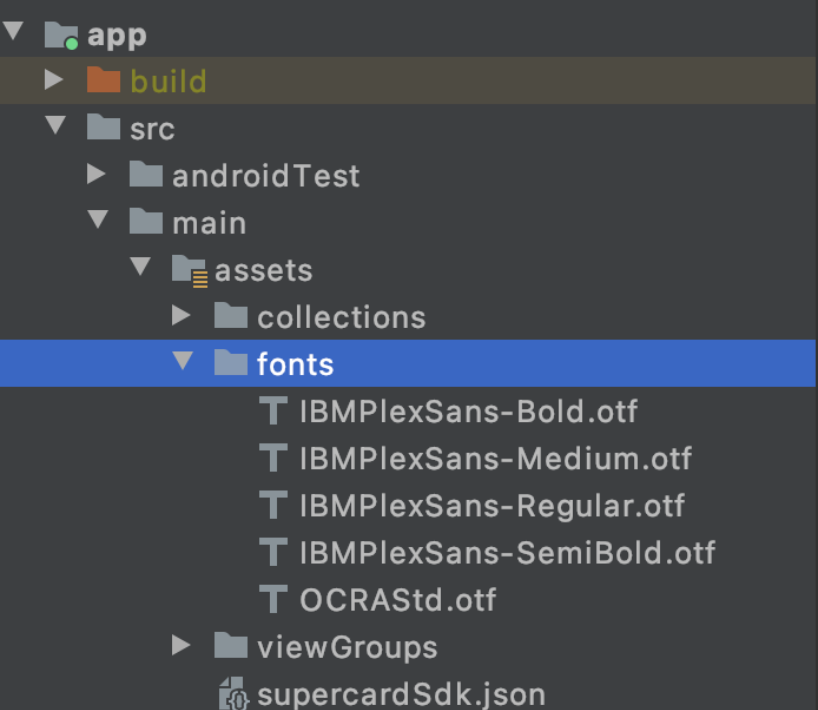
Code Copied Add the font files to your project
To use the fonts the same as your app and give the user a similar experience, you should add your font files in the app/src/main/assets/fonts folder of your project. You can provide font files in either ttf or otf formats. Font files once added would like as follows with the Project view in Android Studio:
Instantiating Cards SDK
Once you have completed the Setup for the SDK, you are now ready to create an instance of CardsService. Add the following code to your app’s Application class (Create a one if you haven’t yet). Inside your Application class, add the following code.
Switch Theme
Expand More
Copy
|
|
Code Copied
Switch Theme
Expand More
Copy
|
|
Code Copied Following is the description of each of the builder methods
- setSecuredStoreTitle
- Pass the string resource for your application name. We use this to show over the device lock screen when asked for user authentication.
Note: This is a necessary field. An exception is thrown if this is not provided.
- setSecuredStoreSubtitle
- Pass the string resource for your sub-title you may want to show on the device lock screen.
Note: This is a necessary field. An exception is thrown if this is not provided.
- setFontMap
- Create a font map and set it to the builder. The card SDK will, then, use the mentioned fonts while rendering the views offered by the SDK. The file names here refer to the files that you had put inside the assets folder.
Note: You can invoke CardsServiceBuilder(..) only once per app session. To get an instance of CardsService anywhere in your application, use the following code snippet.
Switch Theme
Expand More
Copy
|
|
Code Copied
Switch Theme
Expand More
Copy
|
|
Code Copied Authenticating Cards SDK
For a user of your app to be able to use the cards SDK through your app, you need to authenticate the user with the tenantAuthToken. The tenantAuthToken needs to be computed in your backend as it needs sensitive information to create the token. The information used to generate the tenantAuthToken should never be compromised.
Set the tenantAuthToken to the cards SDK once the user logs into your app and you have sufficient information to issue a tenantAuthToken for the user. Following is the code snippet on how to authenticate the SDK:
Switch Theme
Expand More
Copy
|
|
Code Copied
Switch Theme
Expand More
Copy
|
|
Code Copied Note: This step has to be performed in a fresh log-in of the user or when the earlier provided tenantAuthToken expires. Note: A tenantAuthToken has an associated validity with it. The ideal practice is to reset a new token before it expires.
Setting up the SDK
This step triggers the actual setting up of the Cards SDK. Once this step is completed, the SDK will initiate background sync of the card details of the user. One critical step is setting up the secure storage on the mobile app. Secure Storage refers to the encrypted storage which is behind device lock or custom app pin authentication.
For secure storage, the SDK always prefers device lock over custom app pin authentication. Setting up secure storage may require the user to provide device lock authentication. In case of custom app pin authentication, it may require the user to set up the app pin or provide the app pin. The first invocation of the setupSDK function call may require user intervention. Subsequent invocation will not require any user intervention.
This step has to be performed on every launch of the app (post the authentication of the SDK). You can perform this inside the onCreate() method of your launching activity.
Switch Theme
Expand More
Copy
|
|
Code Copied
Switch Theme
Expand More
Copy
|
|
Code Copied Listen to the listener for success. You can access the Cards SDK APIs