

Developer support
In order to provide an exceptional support experience ,we are introducing Developer support on Fusion management console which will help fintechs a single interface to raise tickets, to keep a track of all the tickets raised, status & ETA for resolving tickets.
It helps fintechs to have a dedicated channel to ask all their queries and get them resolved quickly. This will also help us monitor the quality of support and satisfaction factor of fintechs.
Features
Using developer support component, you can perform the following actions.
Getting Started
Fusion developer support requires user authentication to access the interface. Fusion team will provide the access to your team to start using the developer support.
Logging In
For logging in, you’ll have to go through the following steps:
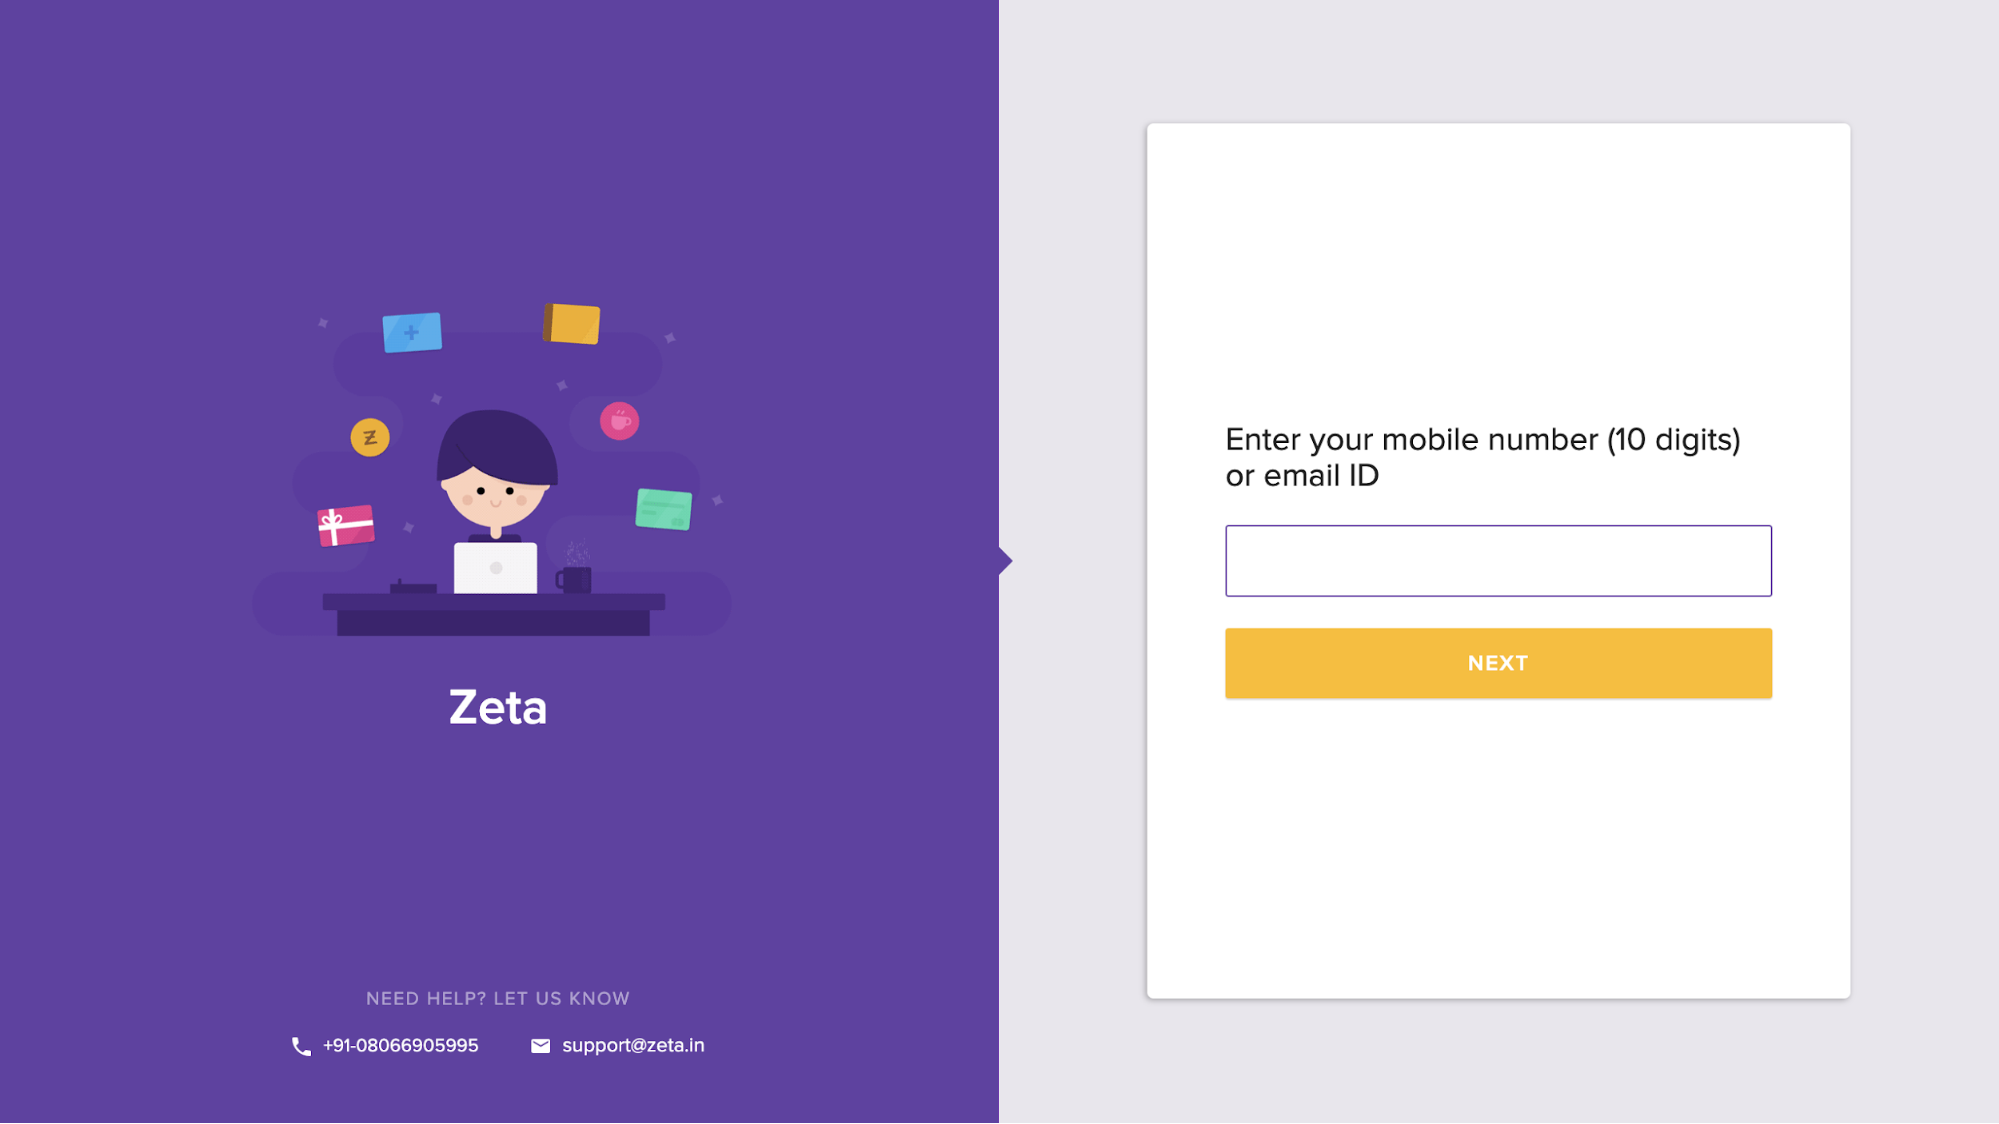
- Go to Fusion Management Console login page
- Enter your 10 digit phone number or email ID.
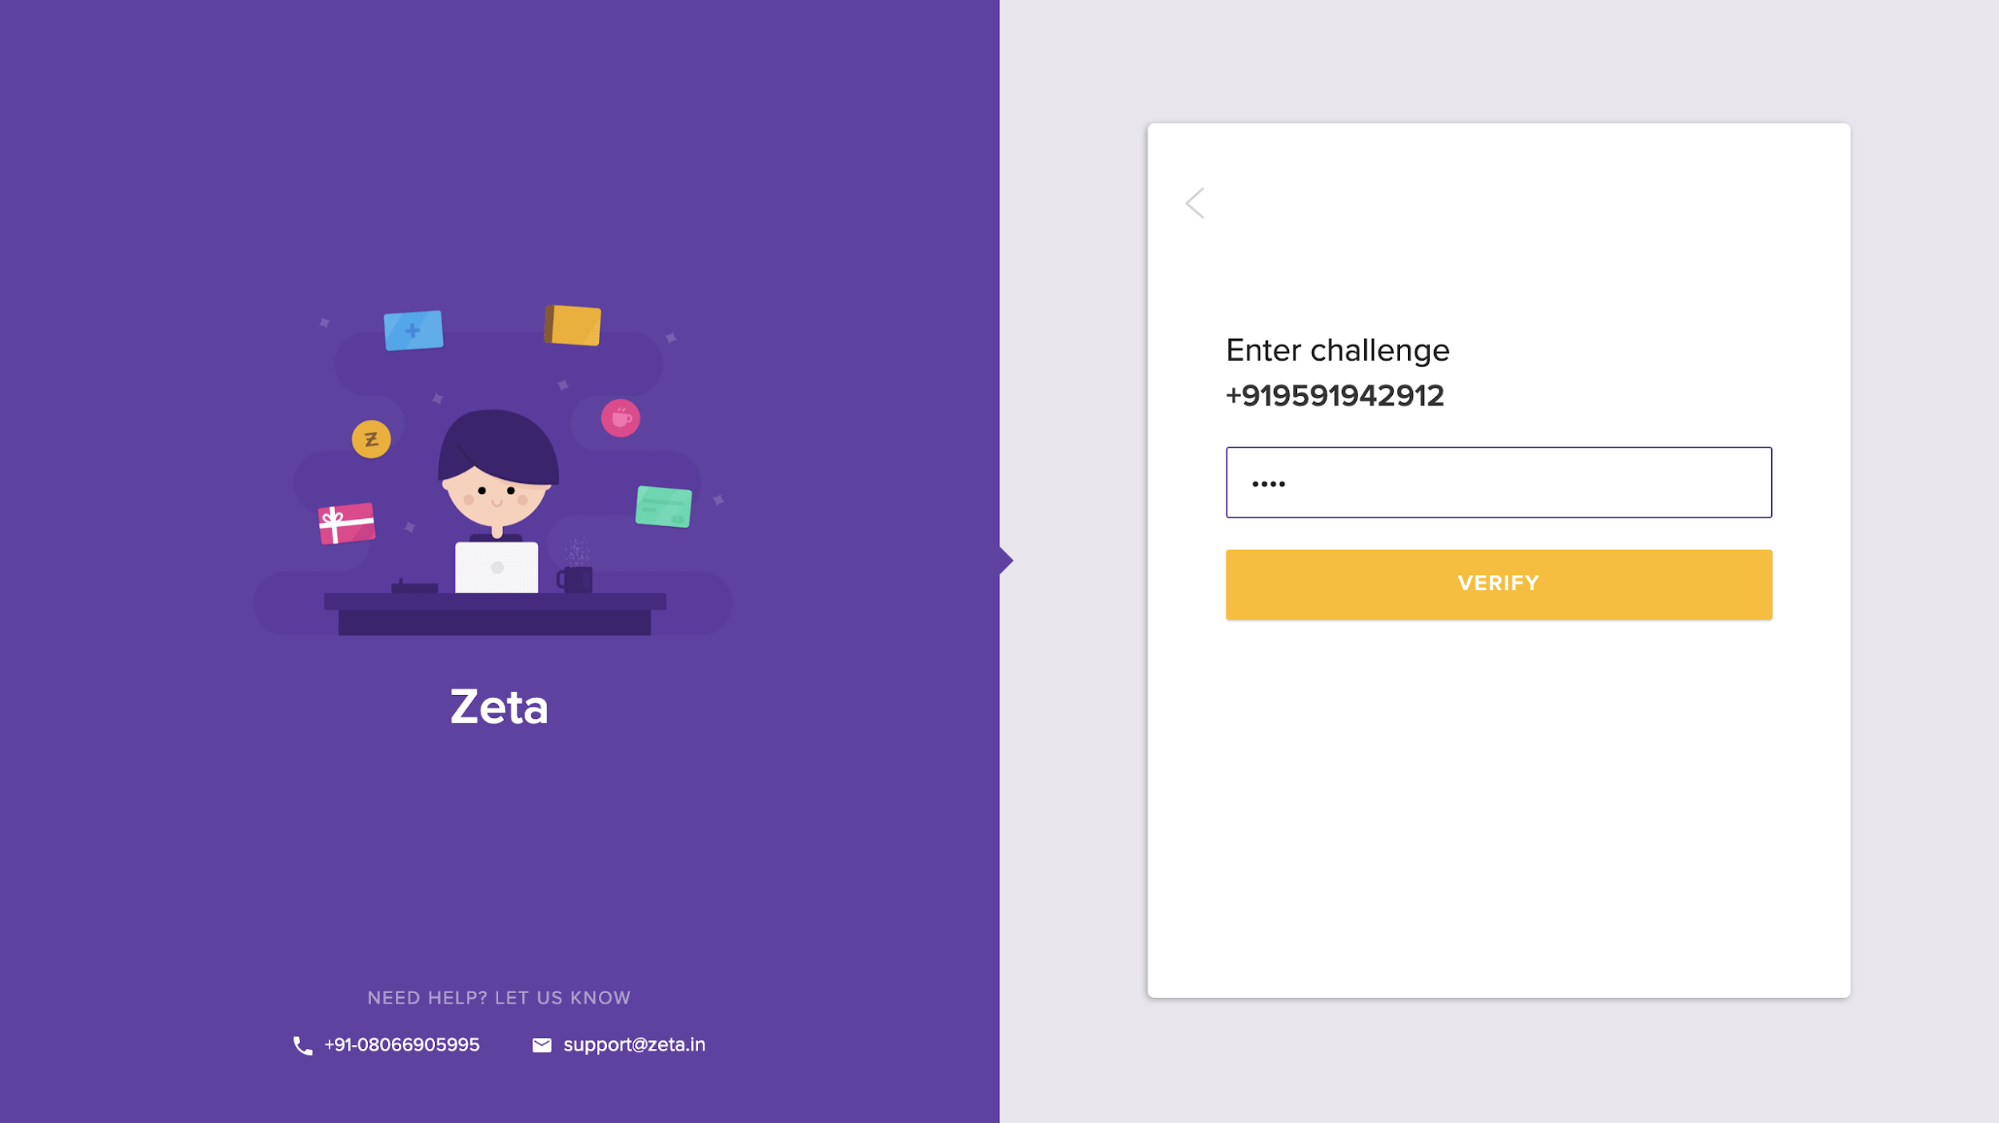
- Verify using an OTP sent to the registered phone number or email ID.
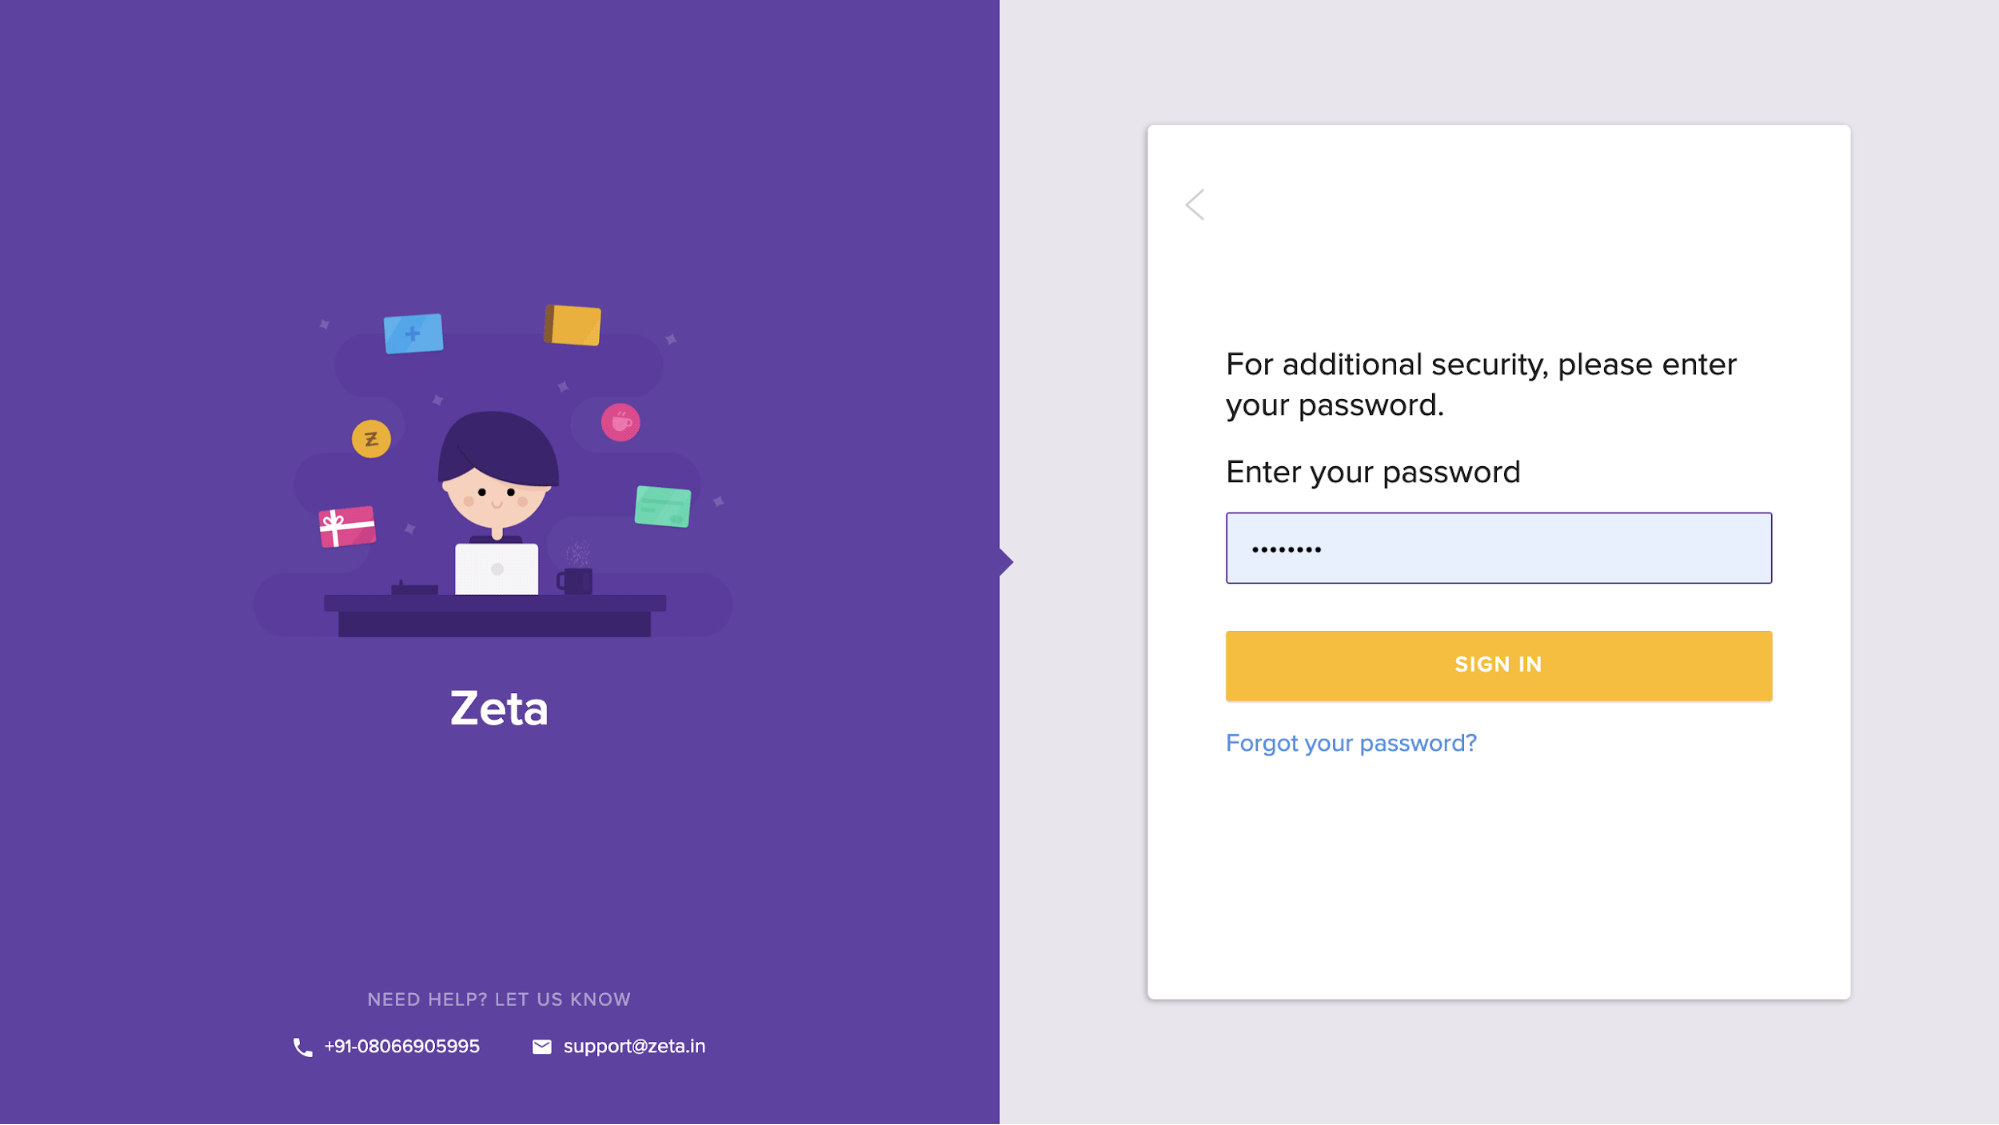
- Enter your password that was set at the time of first time login.
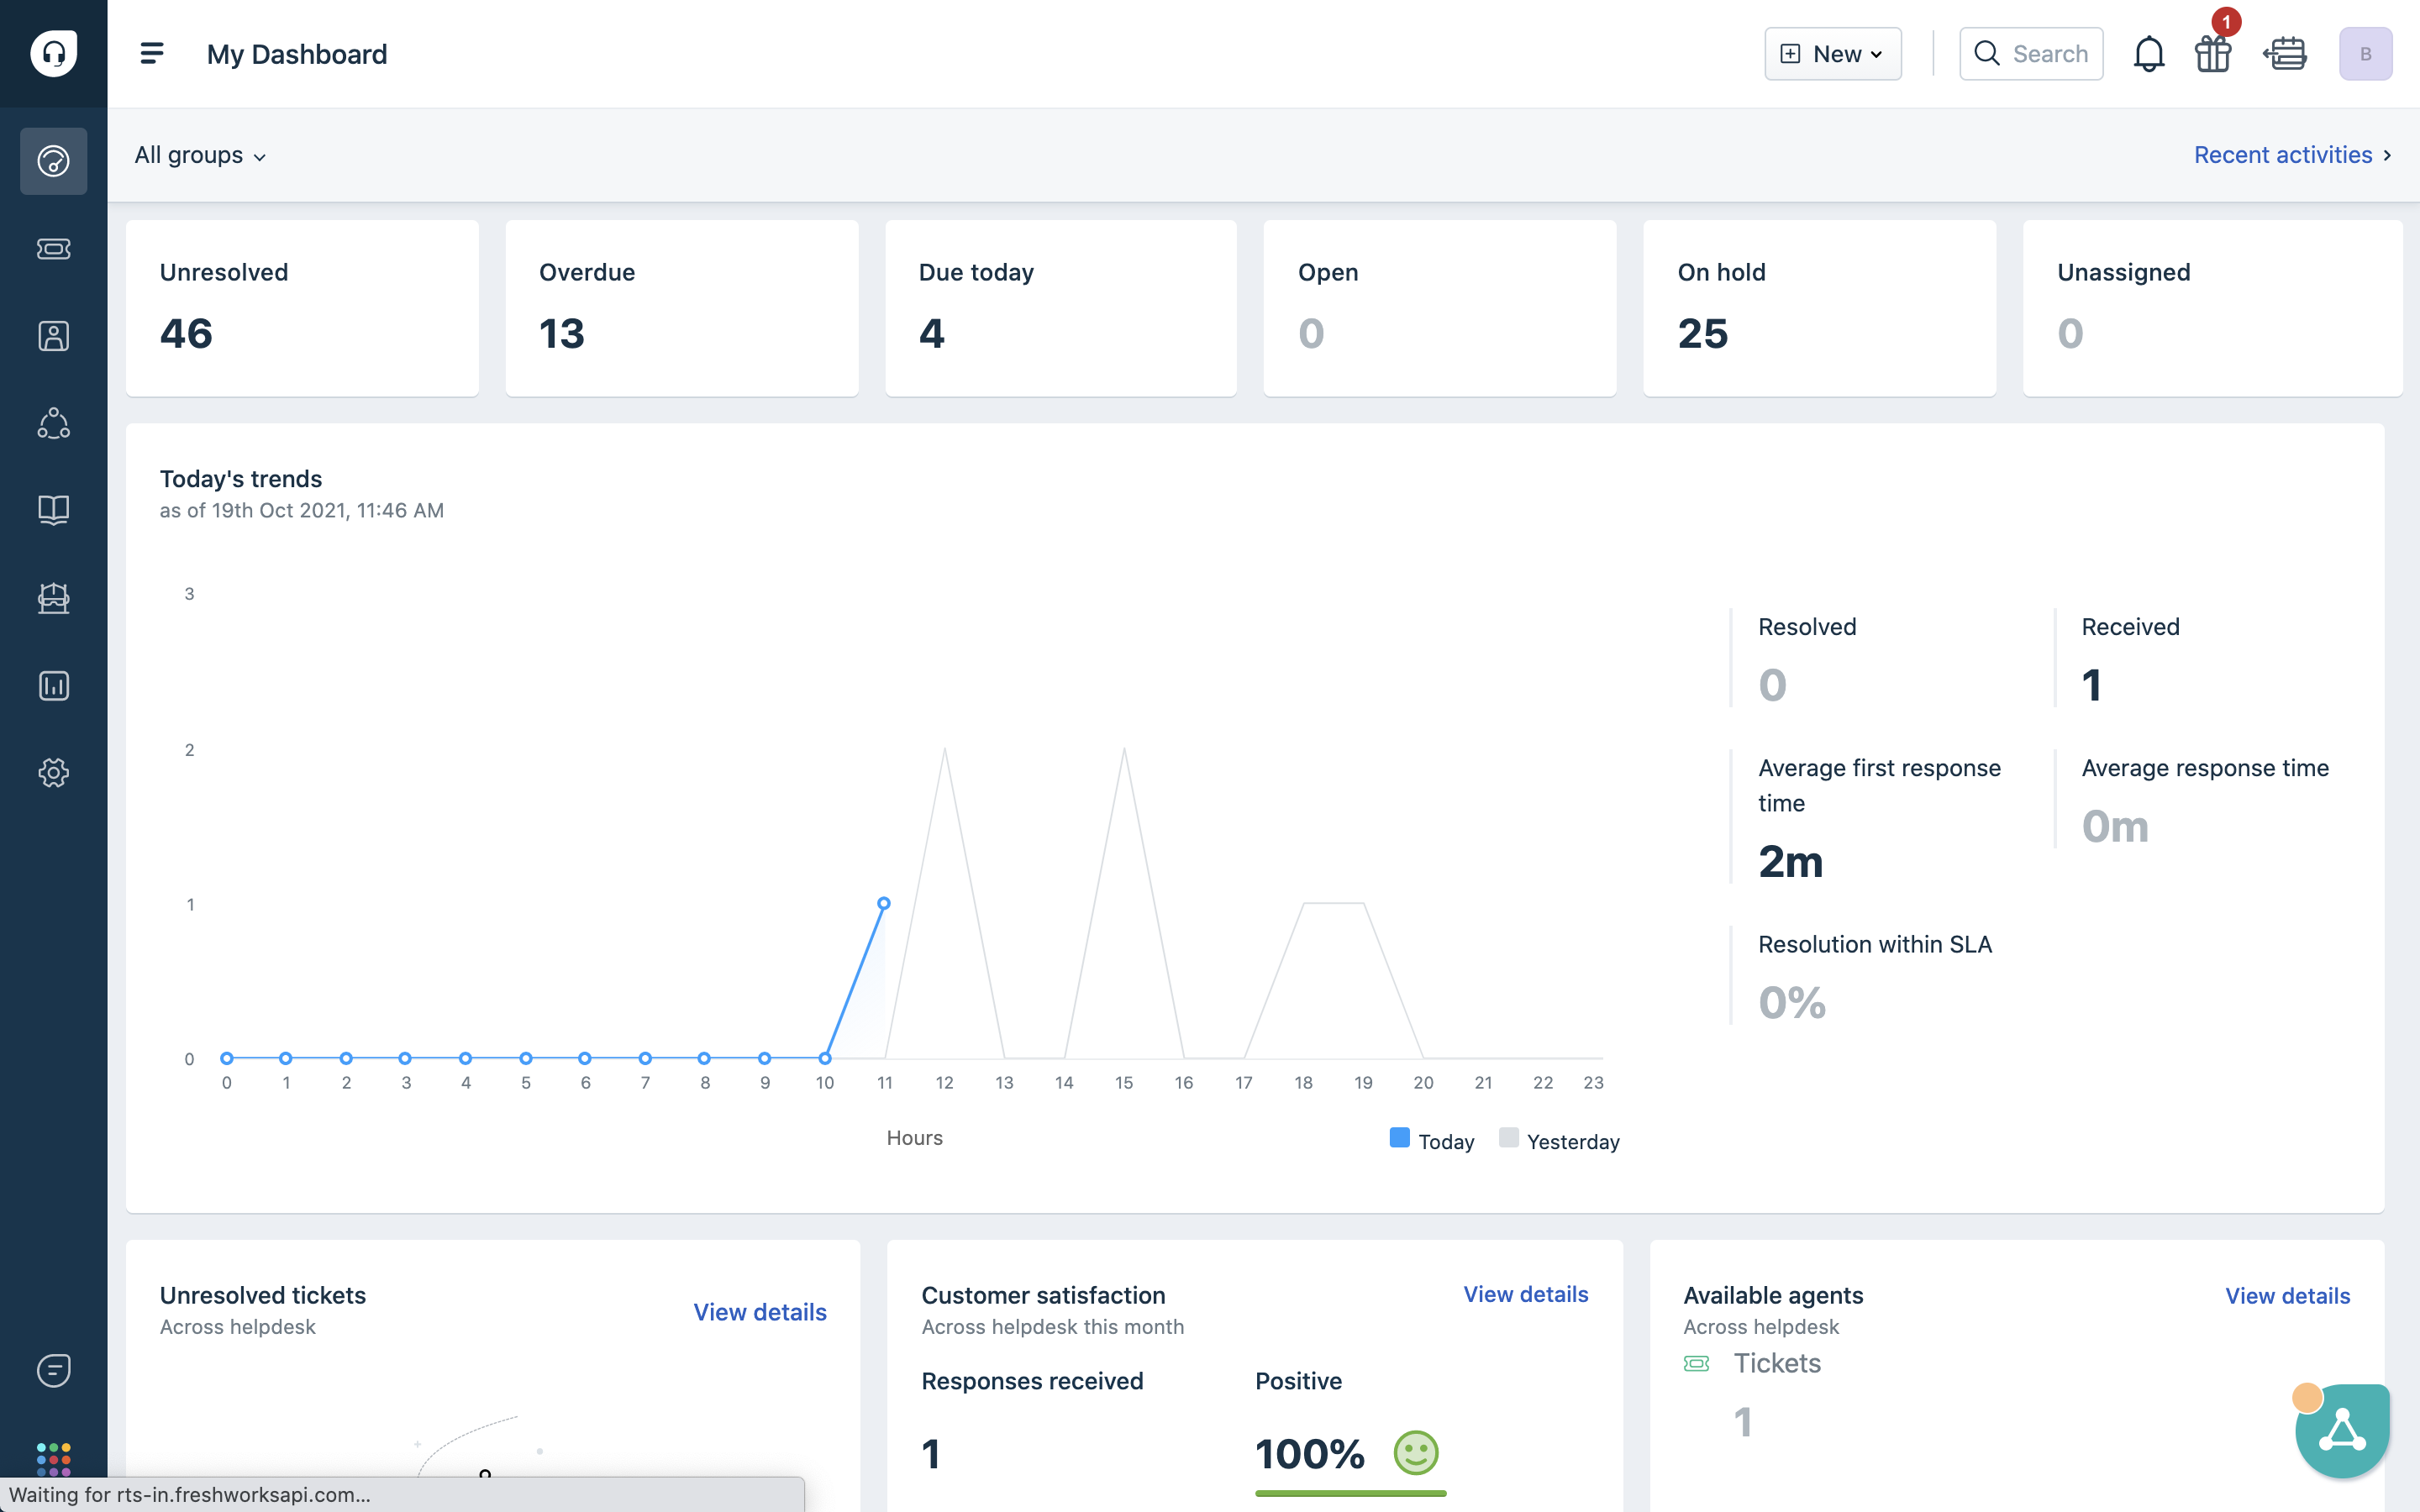
Landing Page
Once you login, you will see an icon for developer support on FMC landing page.

You can click on the User management icon and you will be redirected to developer support interface without further login.
Create ticket
In order to create a ticket you can follow the below steps
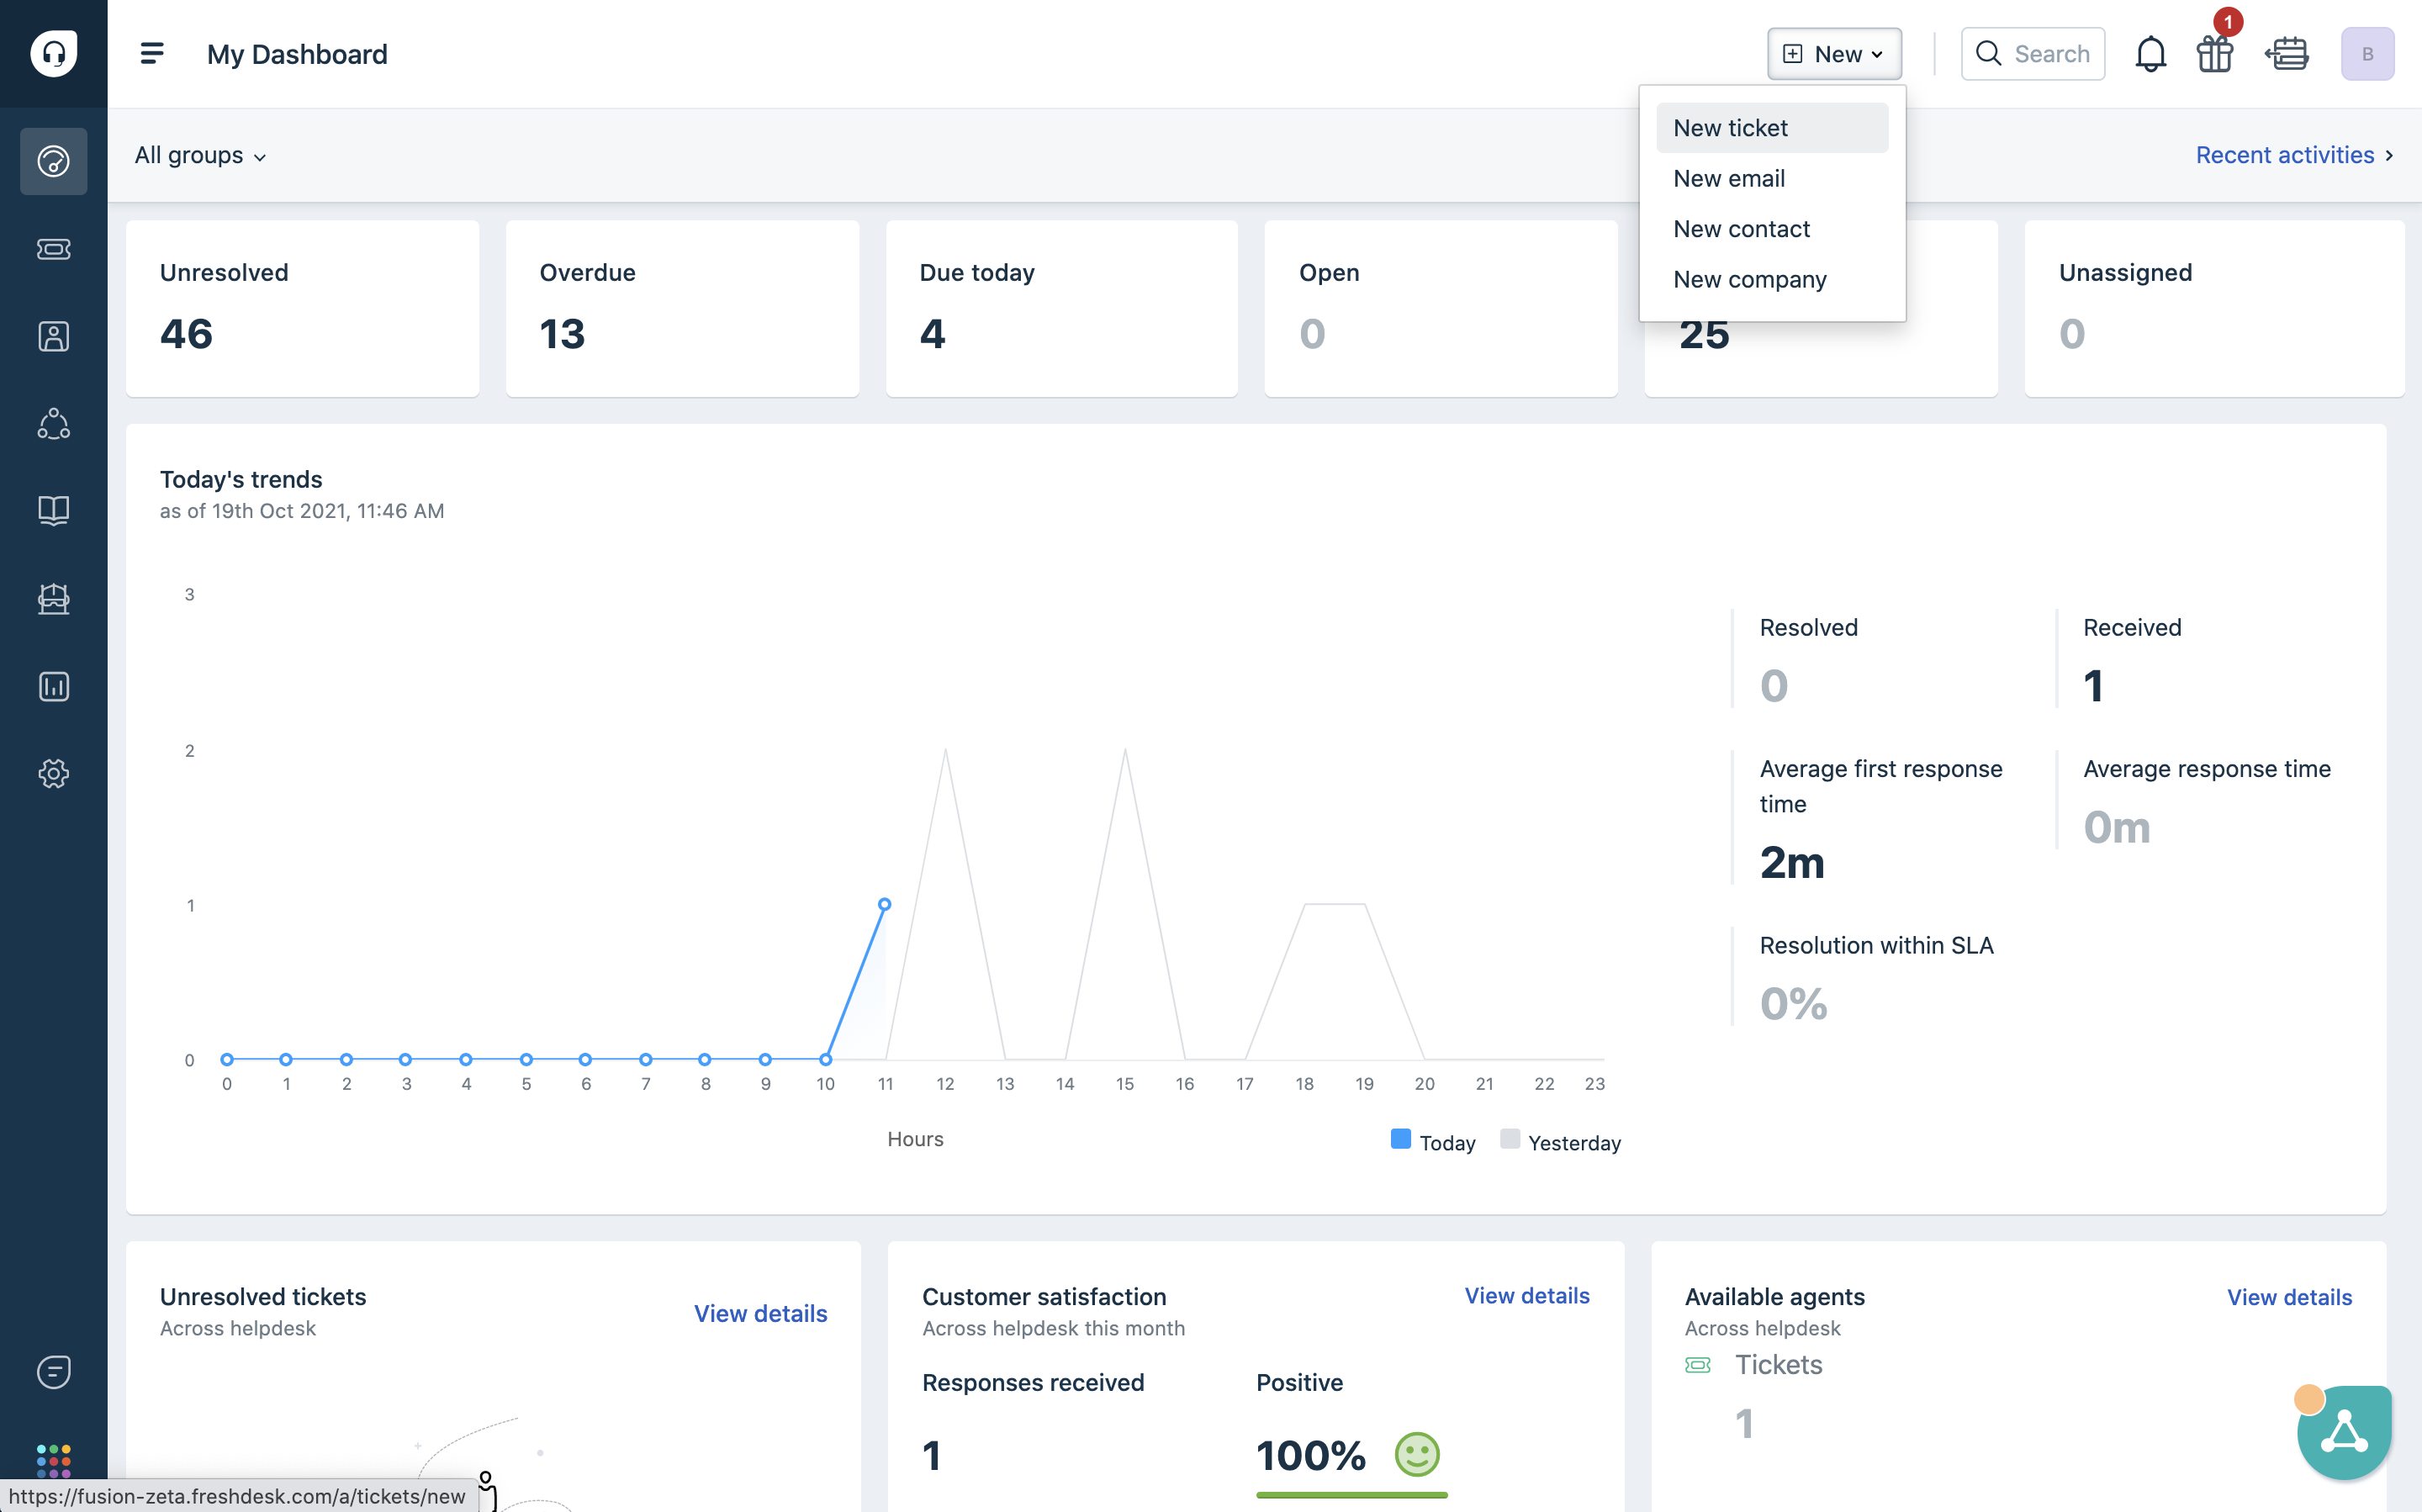
- On the developer support dashboard , you will see a “create new” button
- once you click on the create new button , you will see multiple options ,click on “Create ticket”
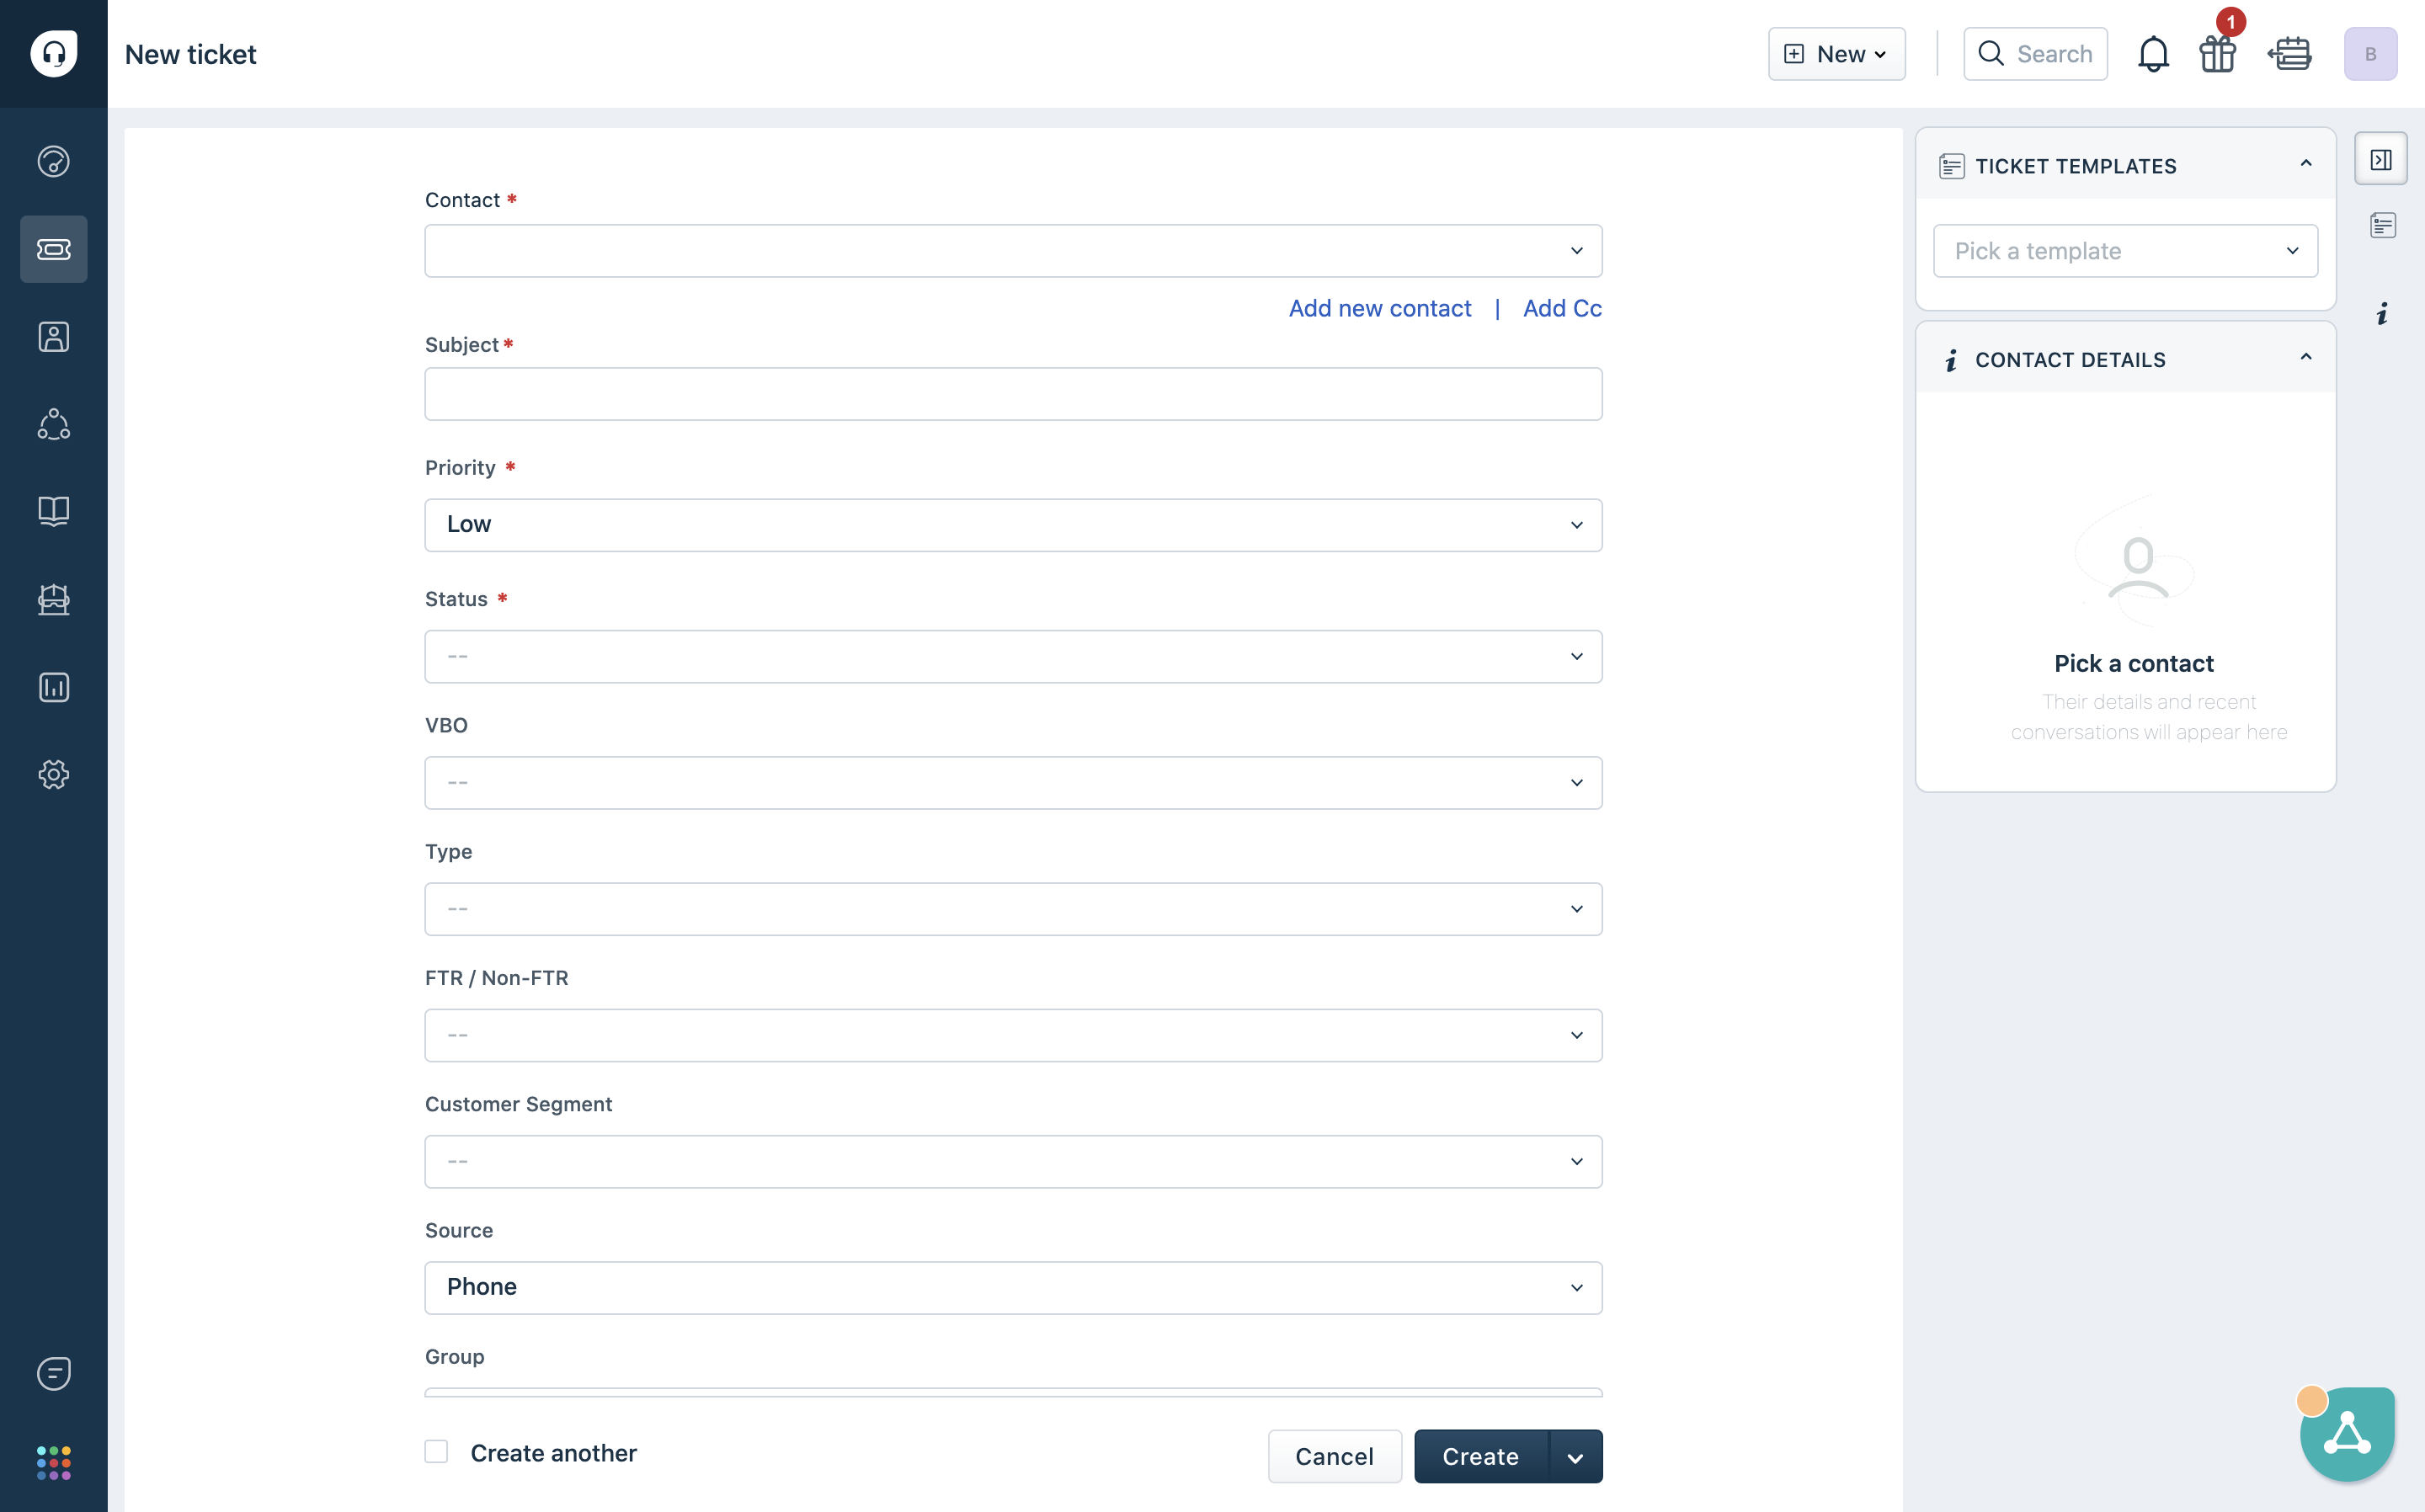
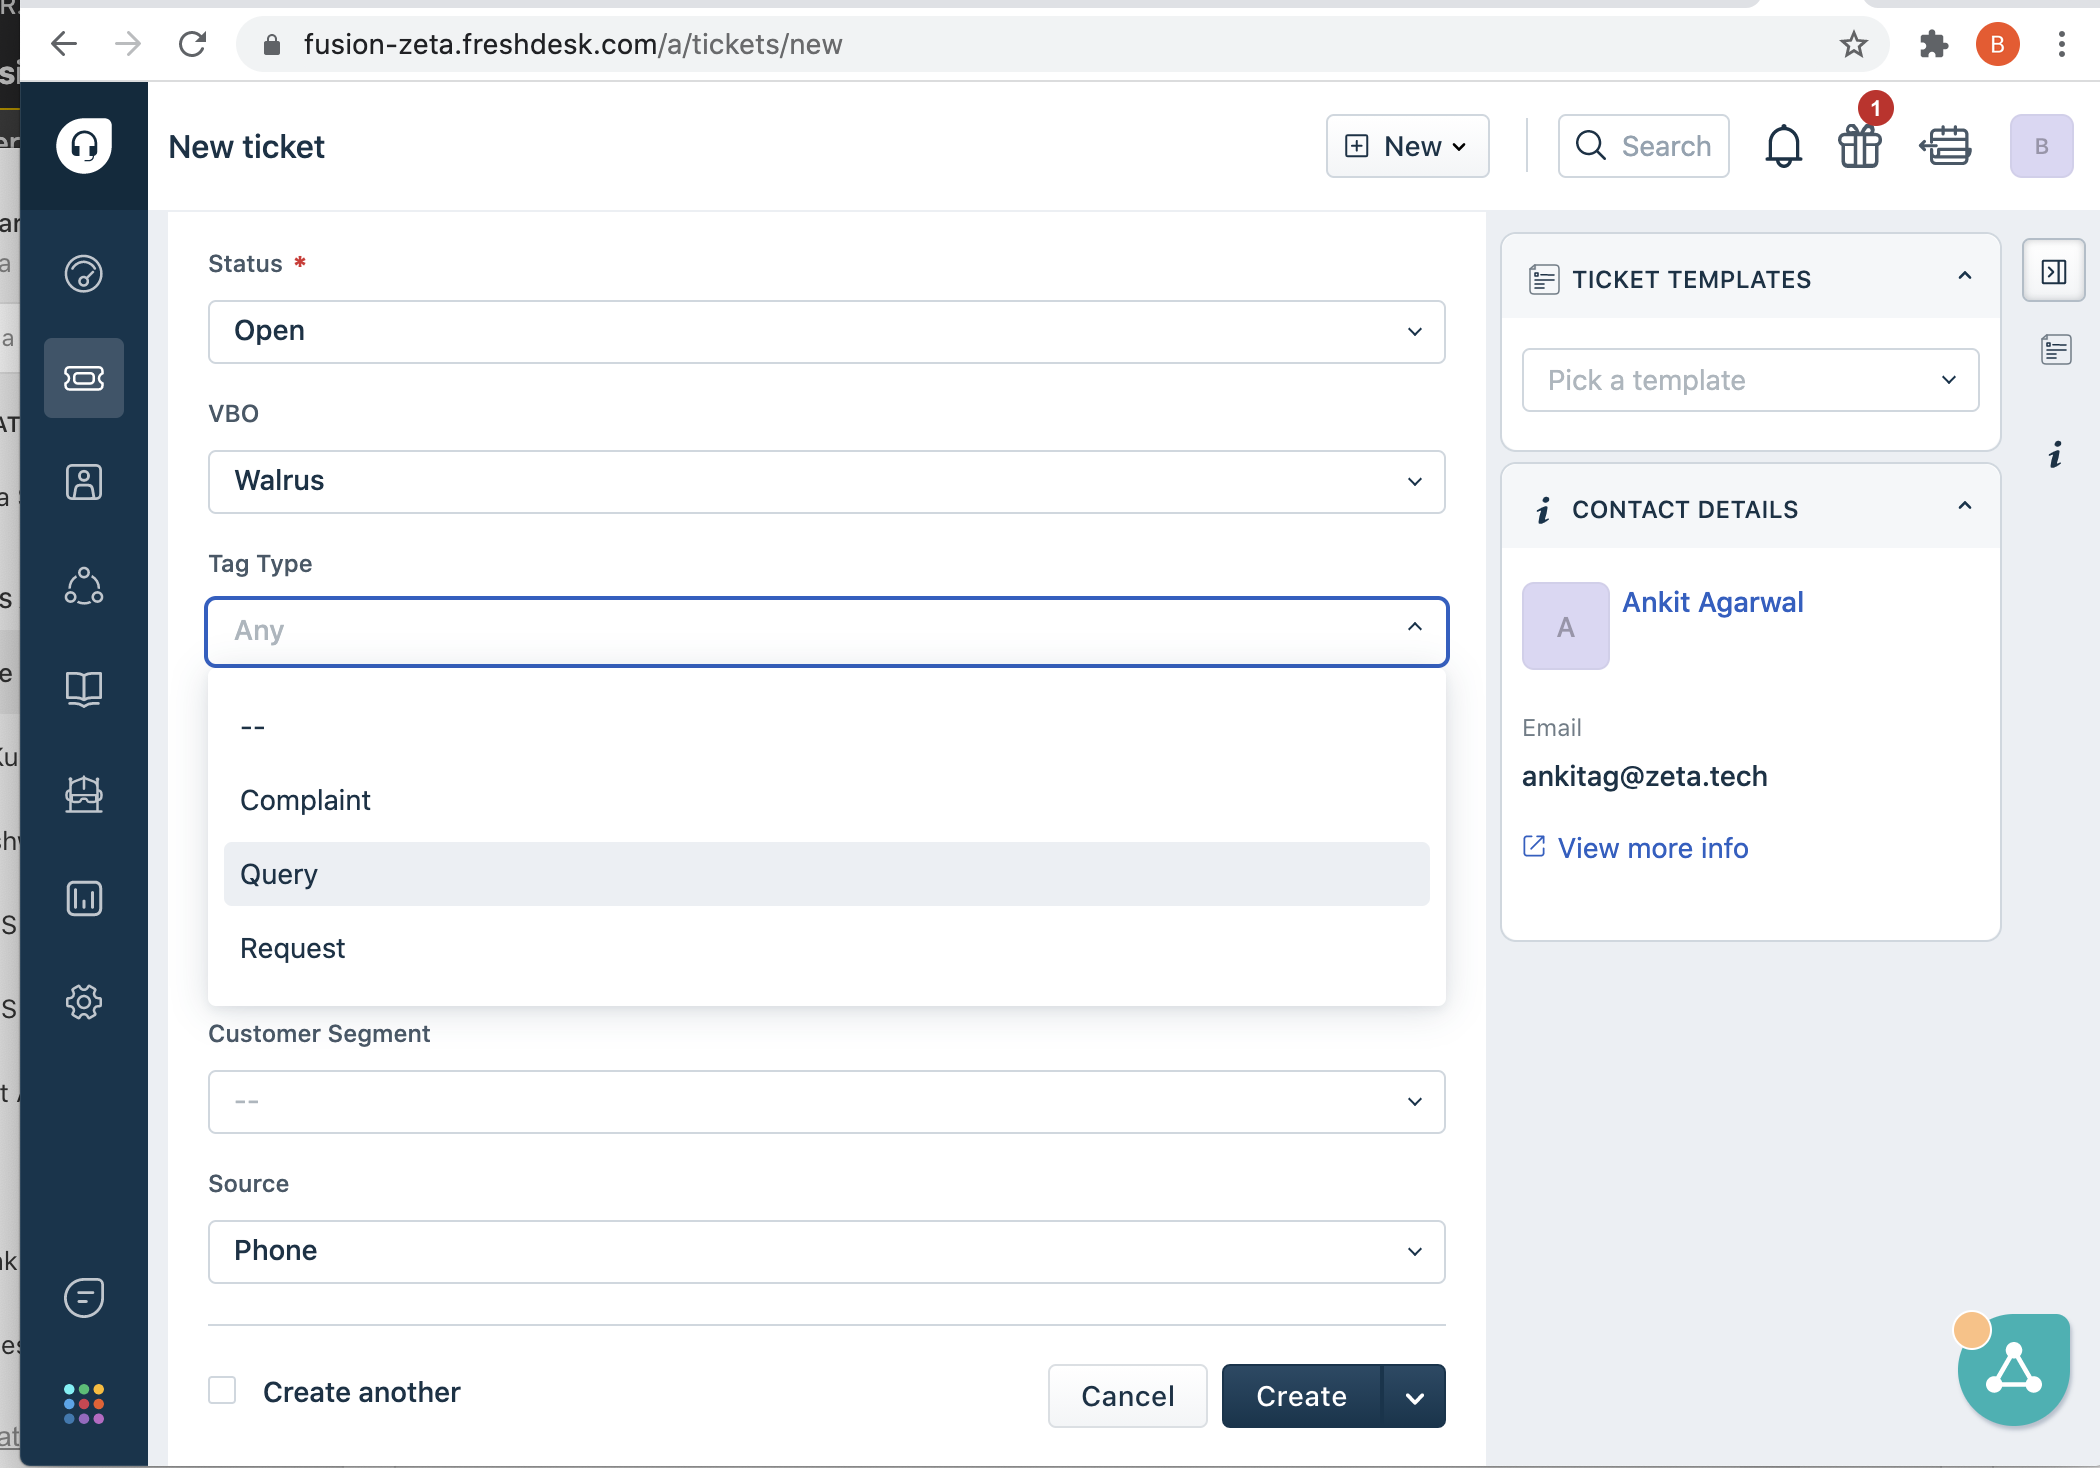
- Once you click on create ticket, you will be asked to enter the below details .
- Enter Contact details, subject of the ticket and other details
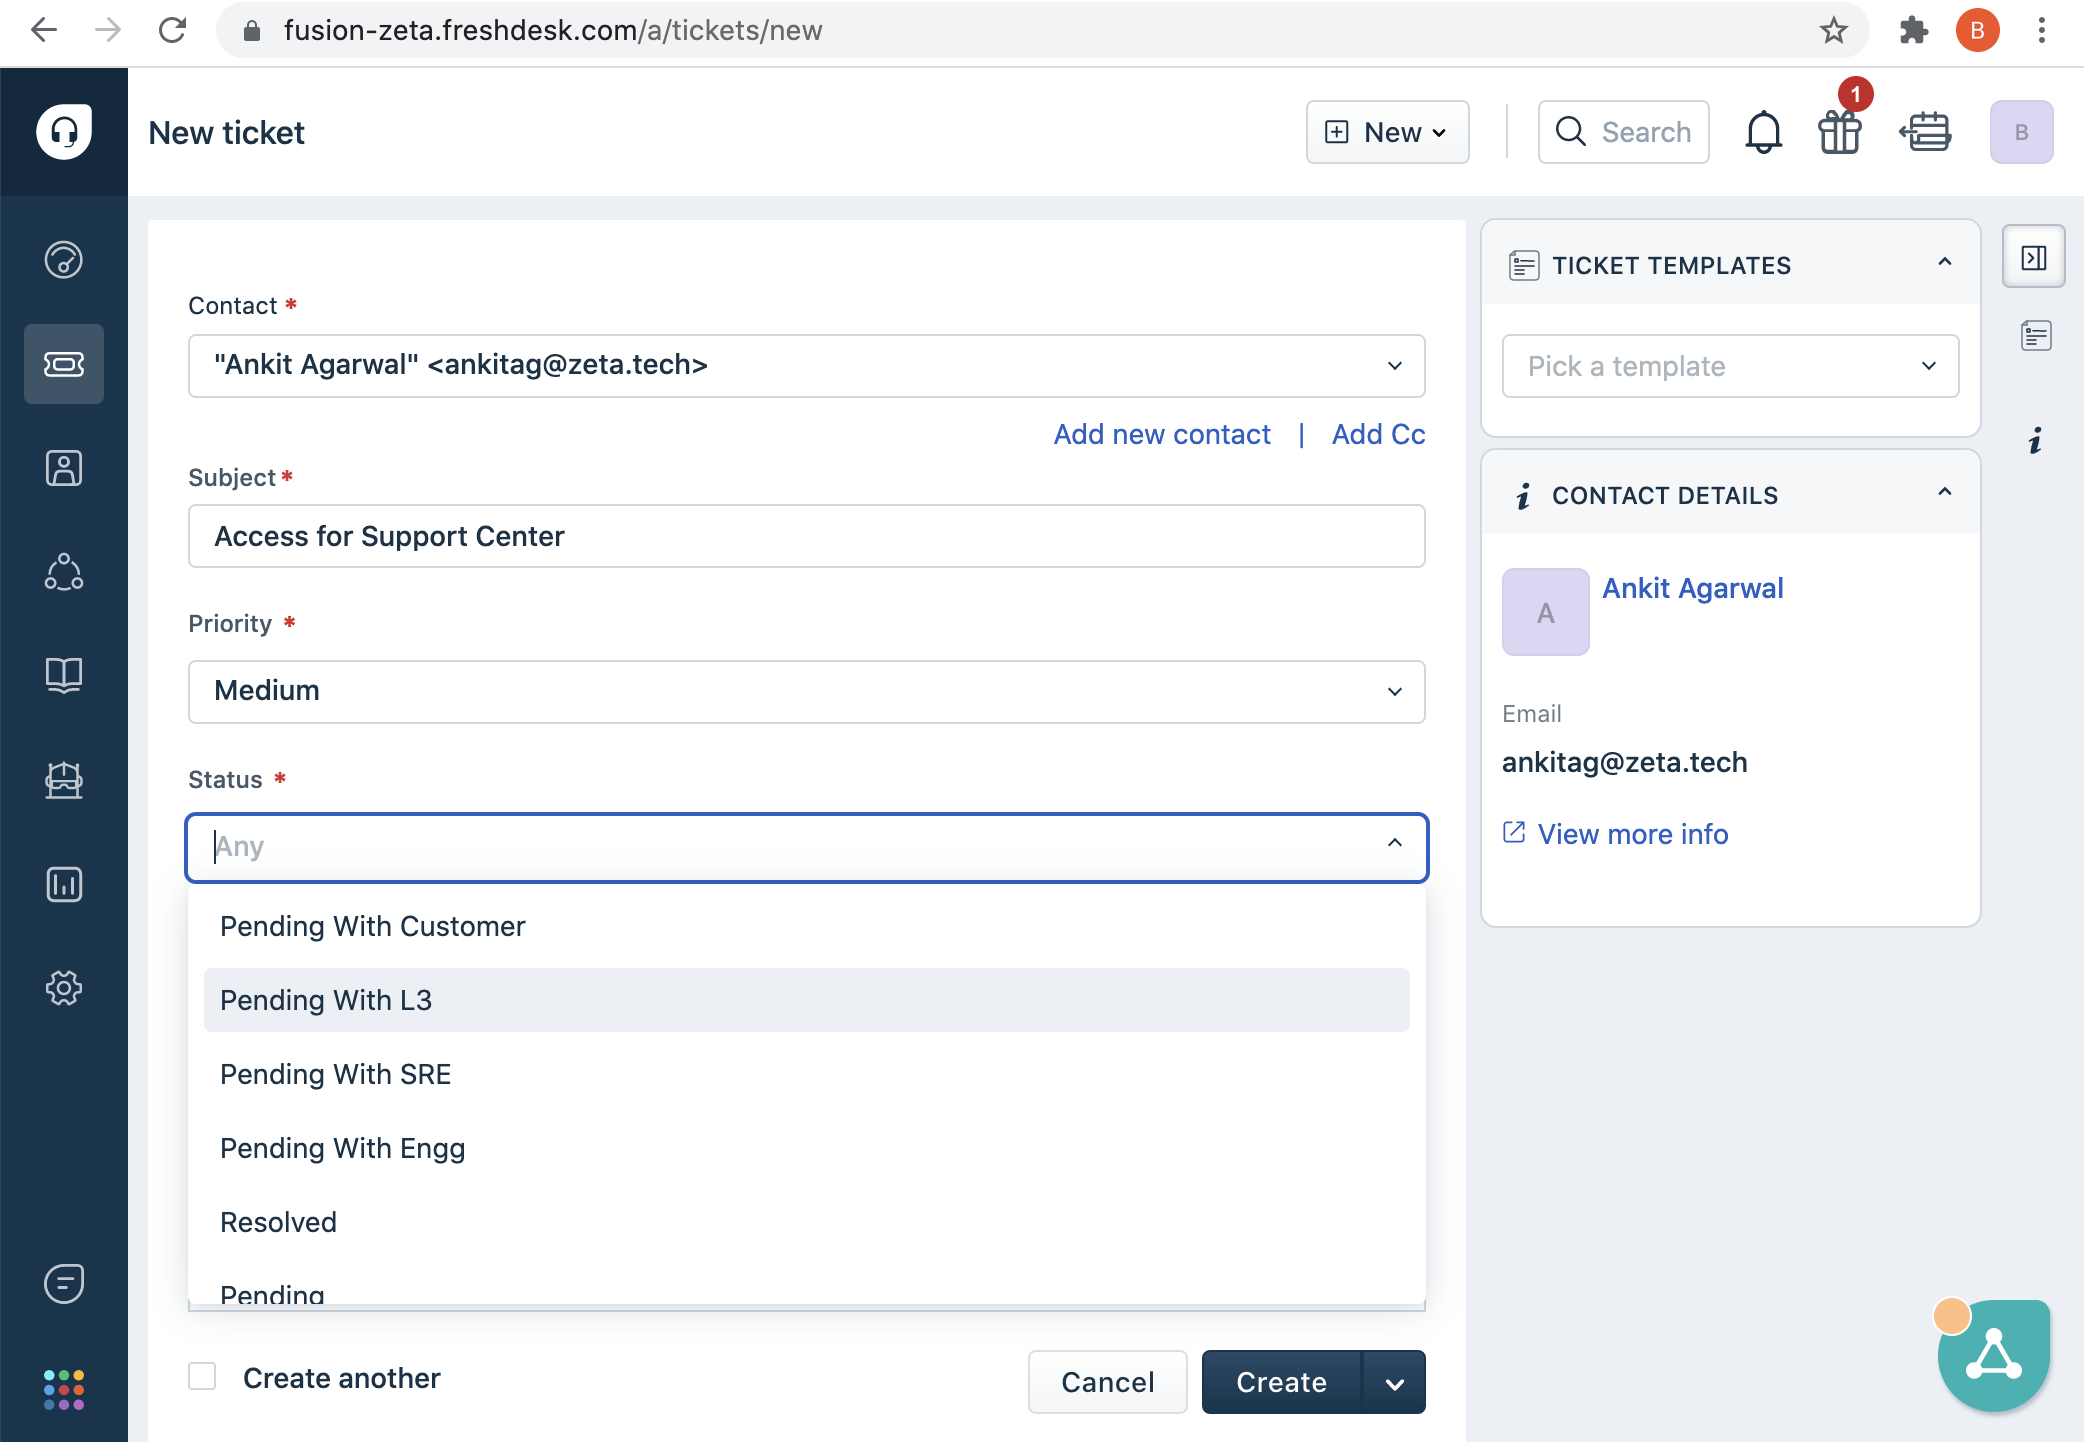
- Once these details are entered, you can select the priority for the ticket and you can also mark the status of the ticket as open since it is a new ticket.
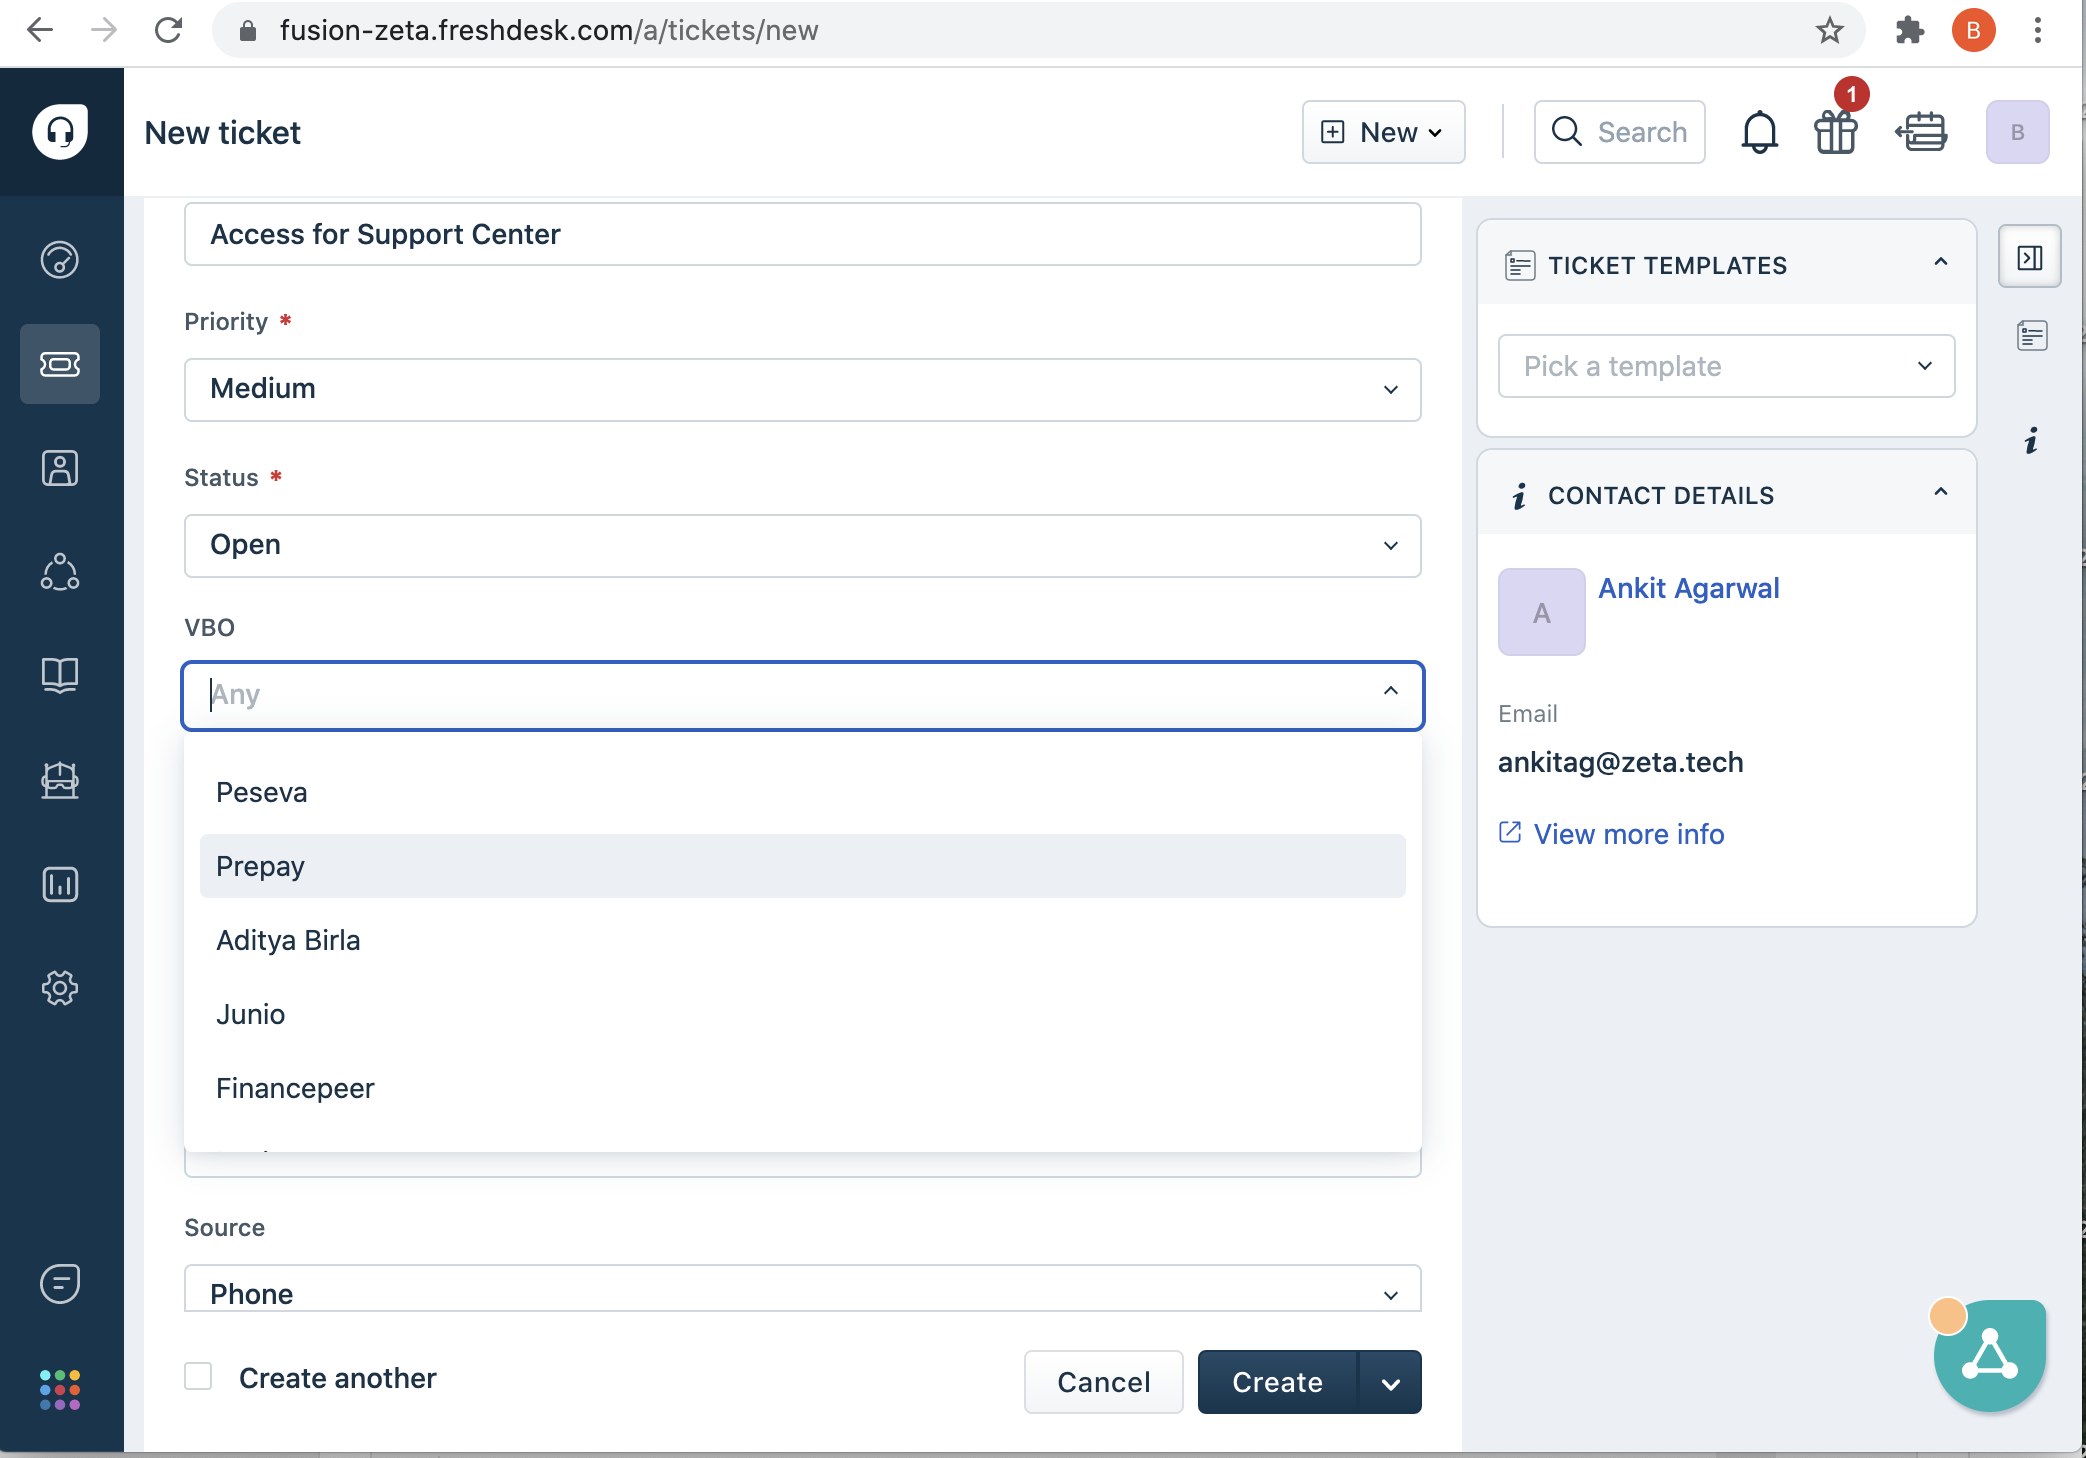
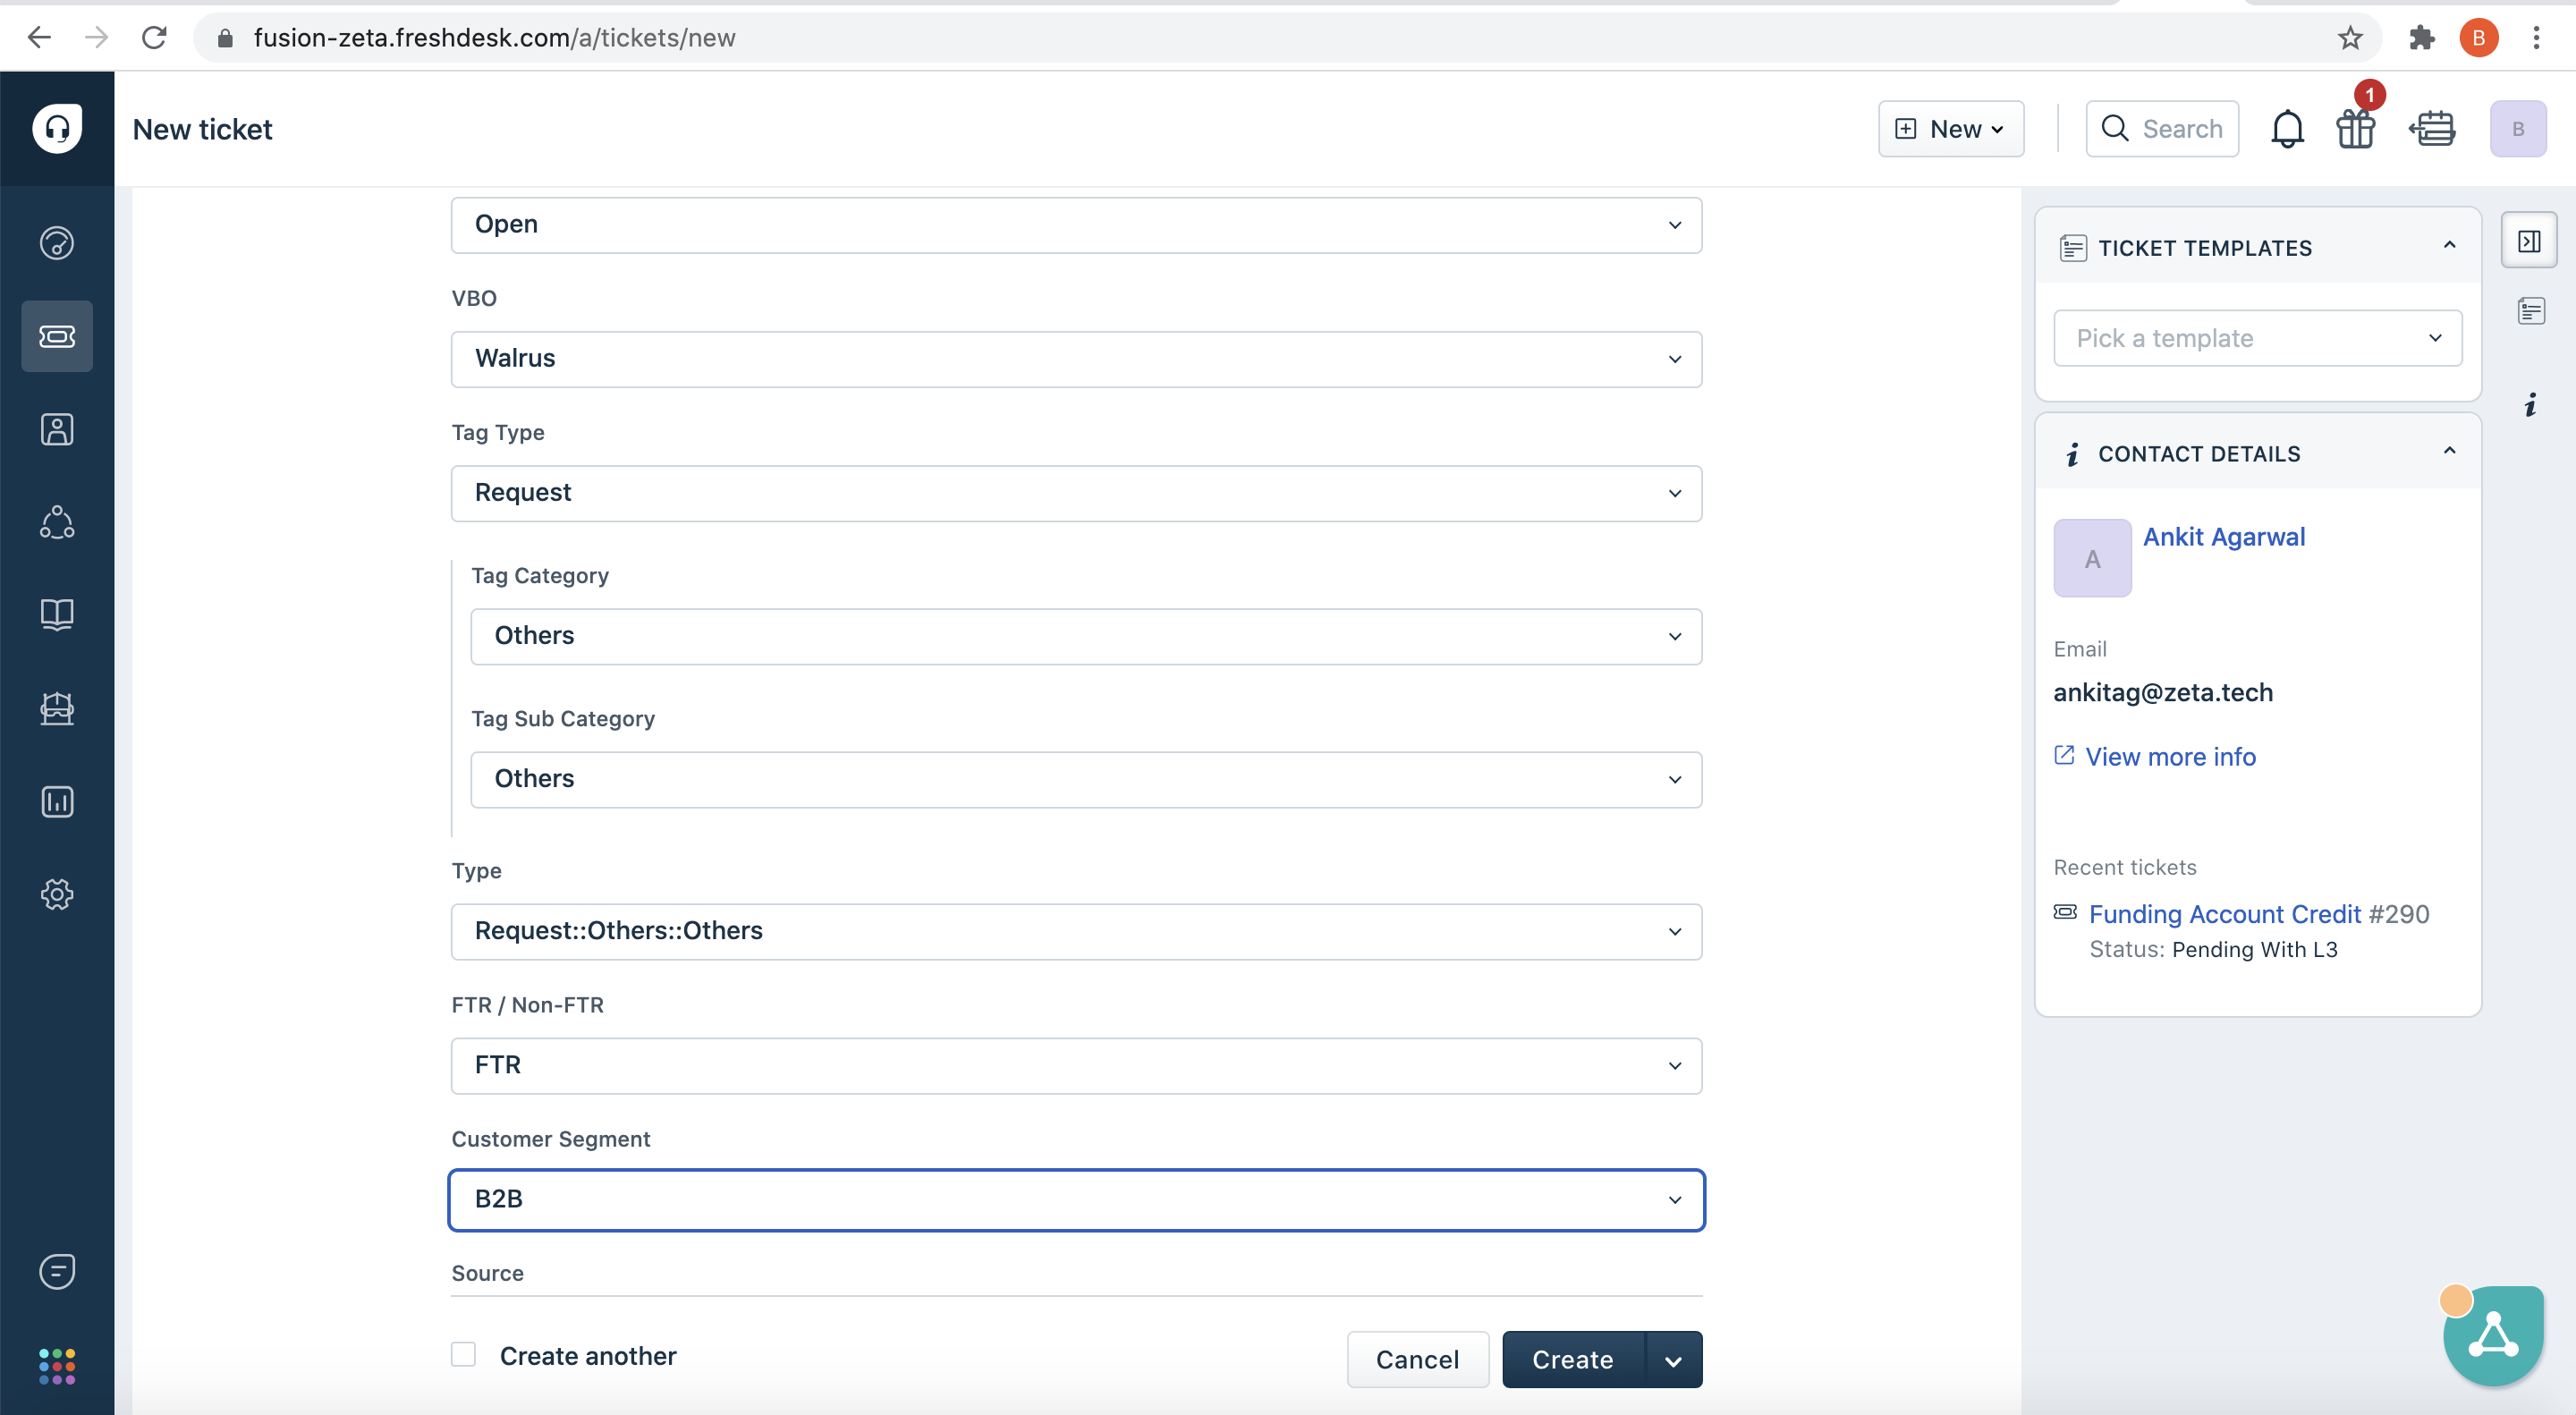
- After these, you can go ahead and assign the tag to this ticket to understand the nature of the query.
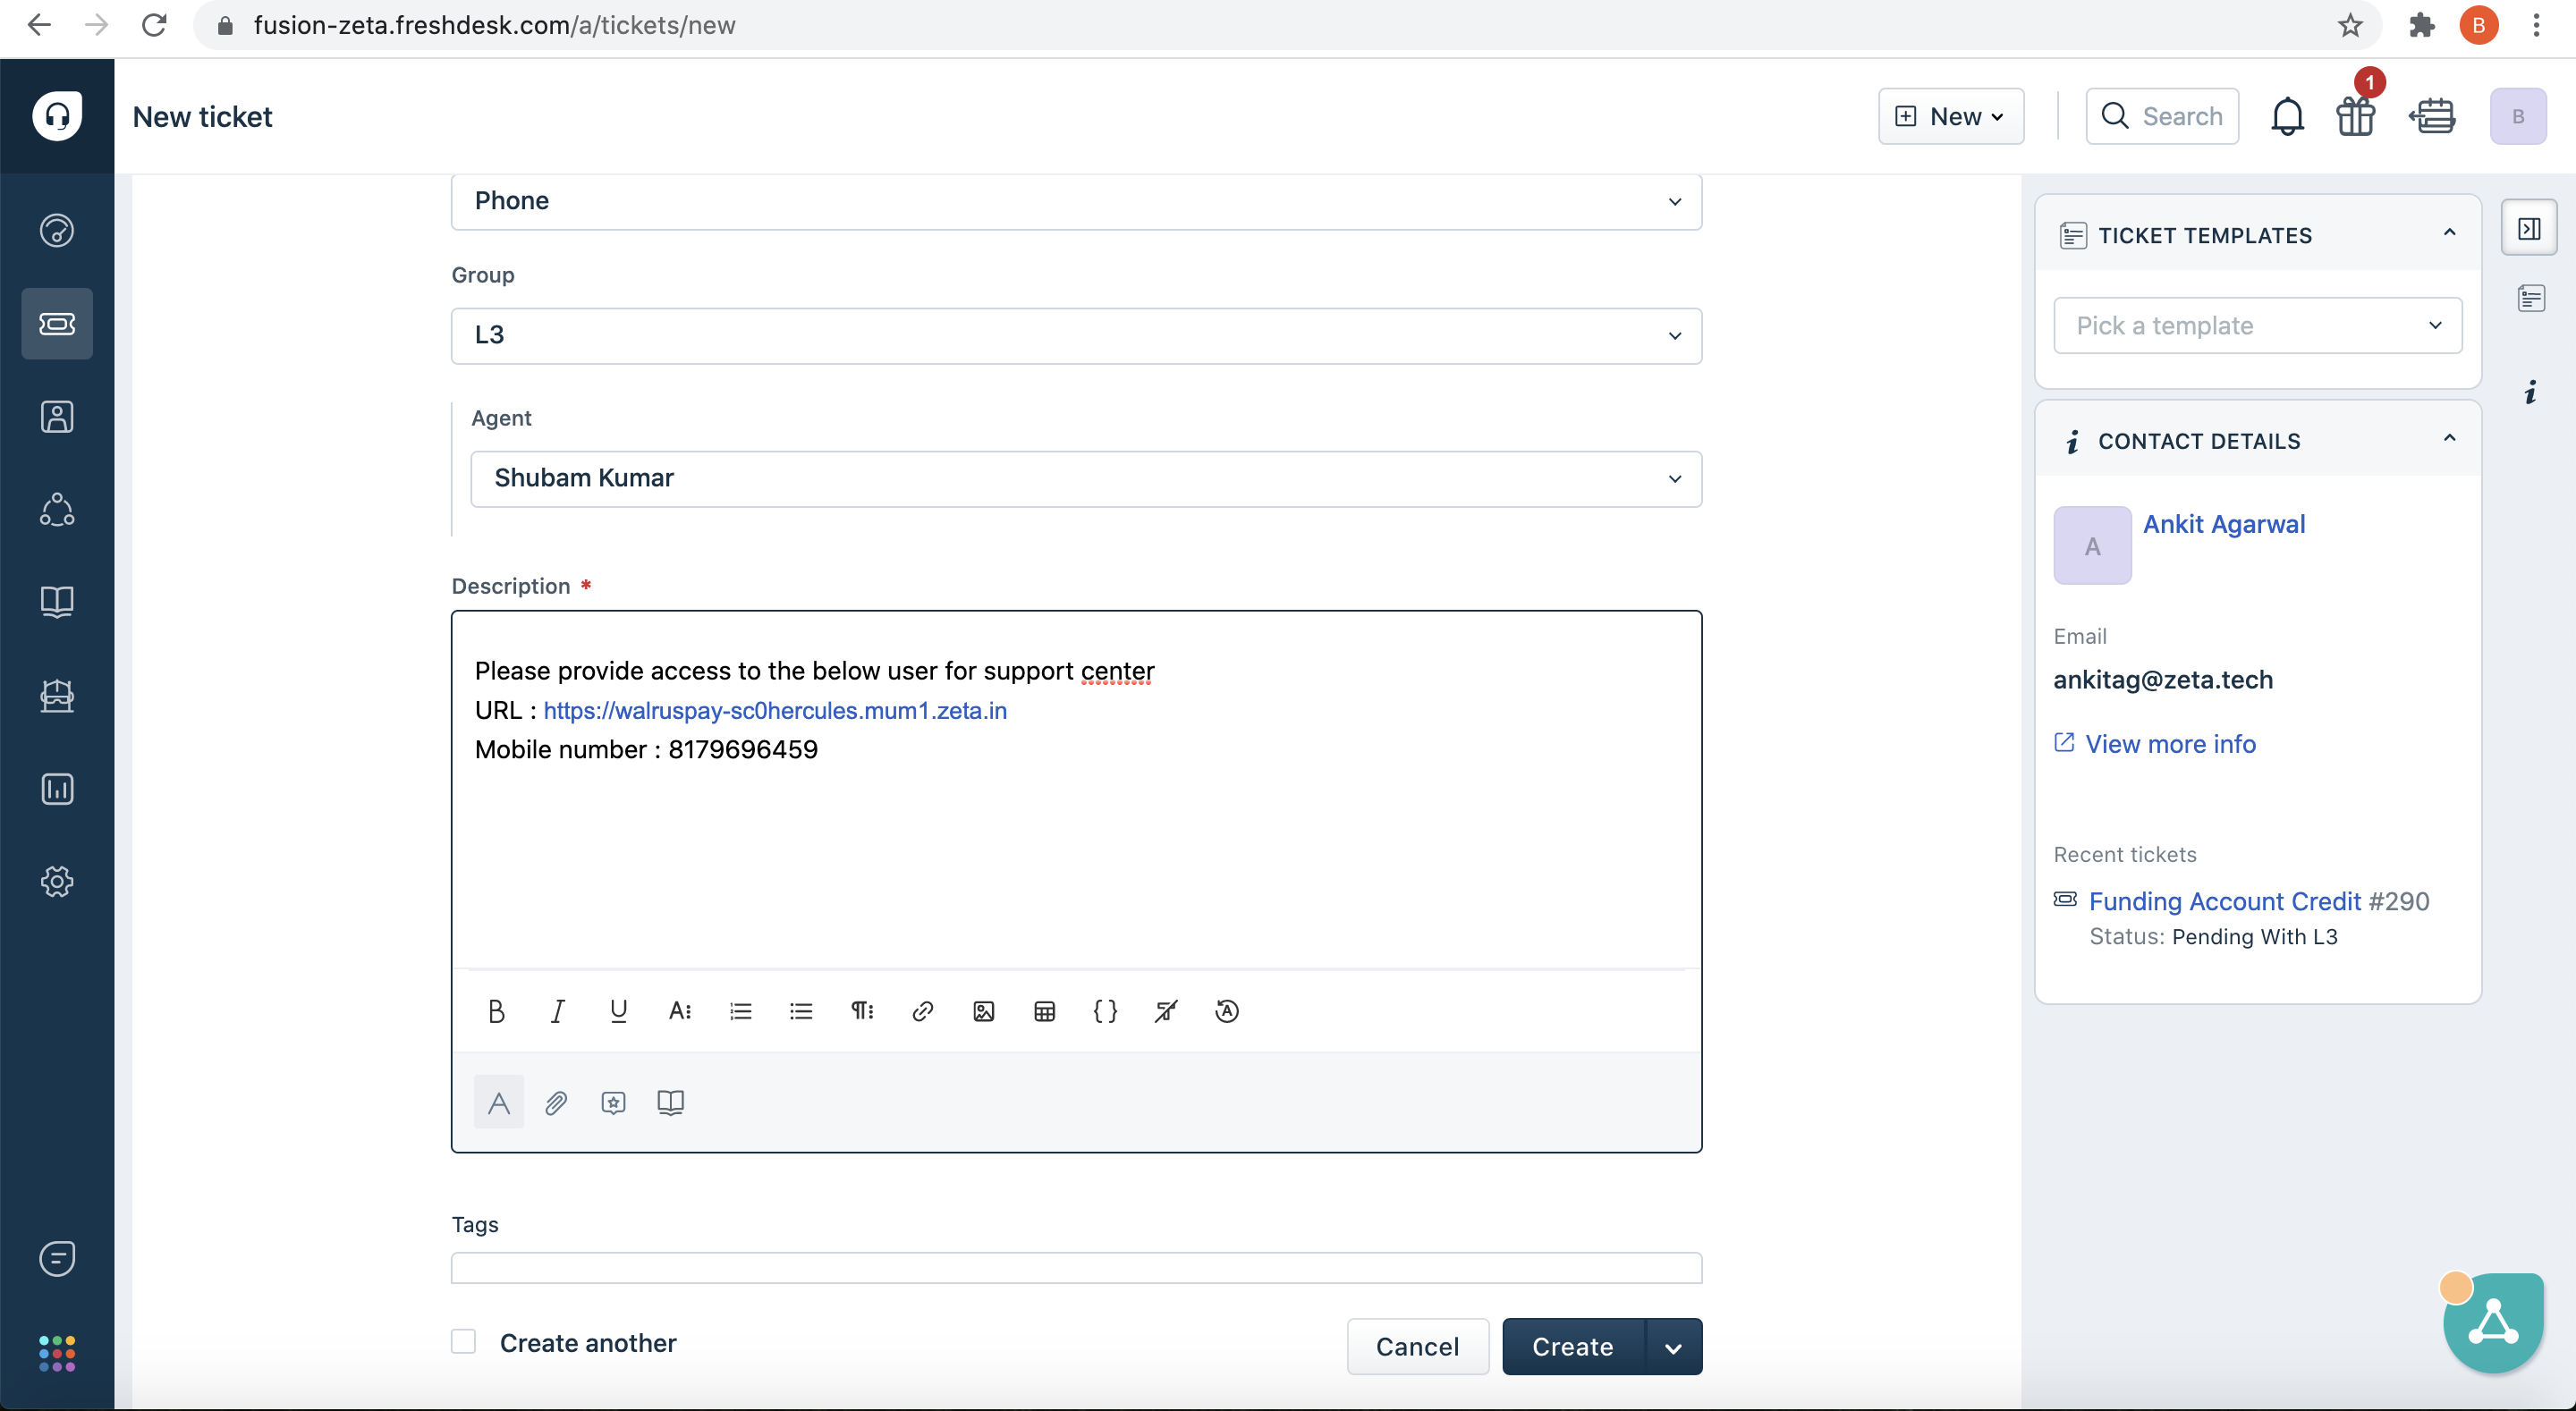
- Once you have done that, you can assign it to a particular agent, if you do not know who to assign you can leave it as blank.
- Finally, you can give a brief summary of the query you are raising and you can go ahead and create a ticket.


Classify ticket
In order to classify a ticket you can follow the below steps
- On the developer support dashboard , you will see a “create new” button
- once you click on the create new button , you will see multiple options ,click on “Create ticket”
- Once you click on create ticket, you will be asked to enter the below details .
- Enter Contact details, subject of the ticket and other details
- Once these details are entered, you can select the priority for the ticket and you can also mark the status of the ticket as open since it is a new ticket.
- After these, you can go ahead and assign the tag to this ticket to understand the nature of the query.
- Post filling other details, you can give a brief summary of the query you are raising and you can go ahead and create a ticket.
Prioritize ticket
In order to prioritize a ticket you can follow the below steps
- On the developer support dashboard , you will see a “create new” button
- once you click on the create new button , you will see multiple options ,click on “Create ticket”
- Once you click on create ticket, you will be asked to enter the below details .
- Enter Contact details, subject of the ticket and other details
- Once these details are entered, you can select the priority for the ticket and you can also mark the status of the ticket as open since it is a new ticket..
- Post filling other details, you can give a brief summary of the query you are raising and you can go ahead and create a ticket.